

Projects
Custom PETG roof vent cowl designed from a hand sketch
A full custom job that started with a sketch and ended with an installed, painted outdoor vent part — but only after proper testing and a print-strategy rethink.

Project snapshot
| Item | Details |
|---|---|
| Process | FDM |
| Material | Black PETG |
| CAD | Designed from scratch in Fusion 360 |
| Source material | Client hand sketch + reference photo |
| Application | Outdoor roof / wall vent cowl |
| Print strategy | PETG model with PLA support interface layers |
| Post-processing | Light cleanup only |
| Price | £40 for design and production |
The brief
A client approached me with a hand-drawn sketch, the key dimensions and a reference image showing the style of outdoor part he wanted. The job was to design and produce a custom vent cap / vent cowl for installation on an exterior pipe, with the finished part later painted by the client after delivery.
This kind of project is a good example of how many real-world jobs start: not with a ready-made file, but with a simple idea communicated through measurements, reference pictures and a short discussion about how the part will be used.
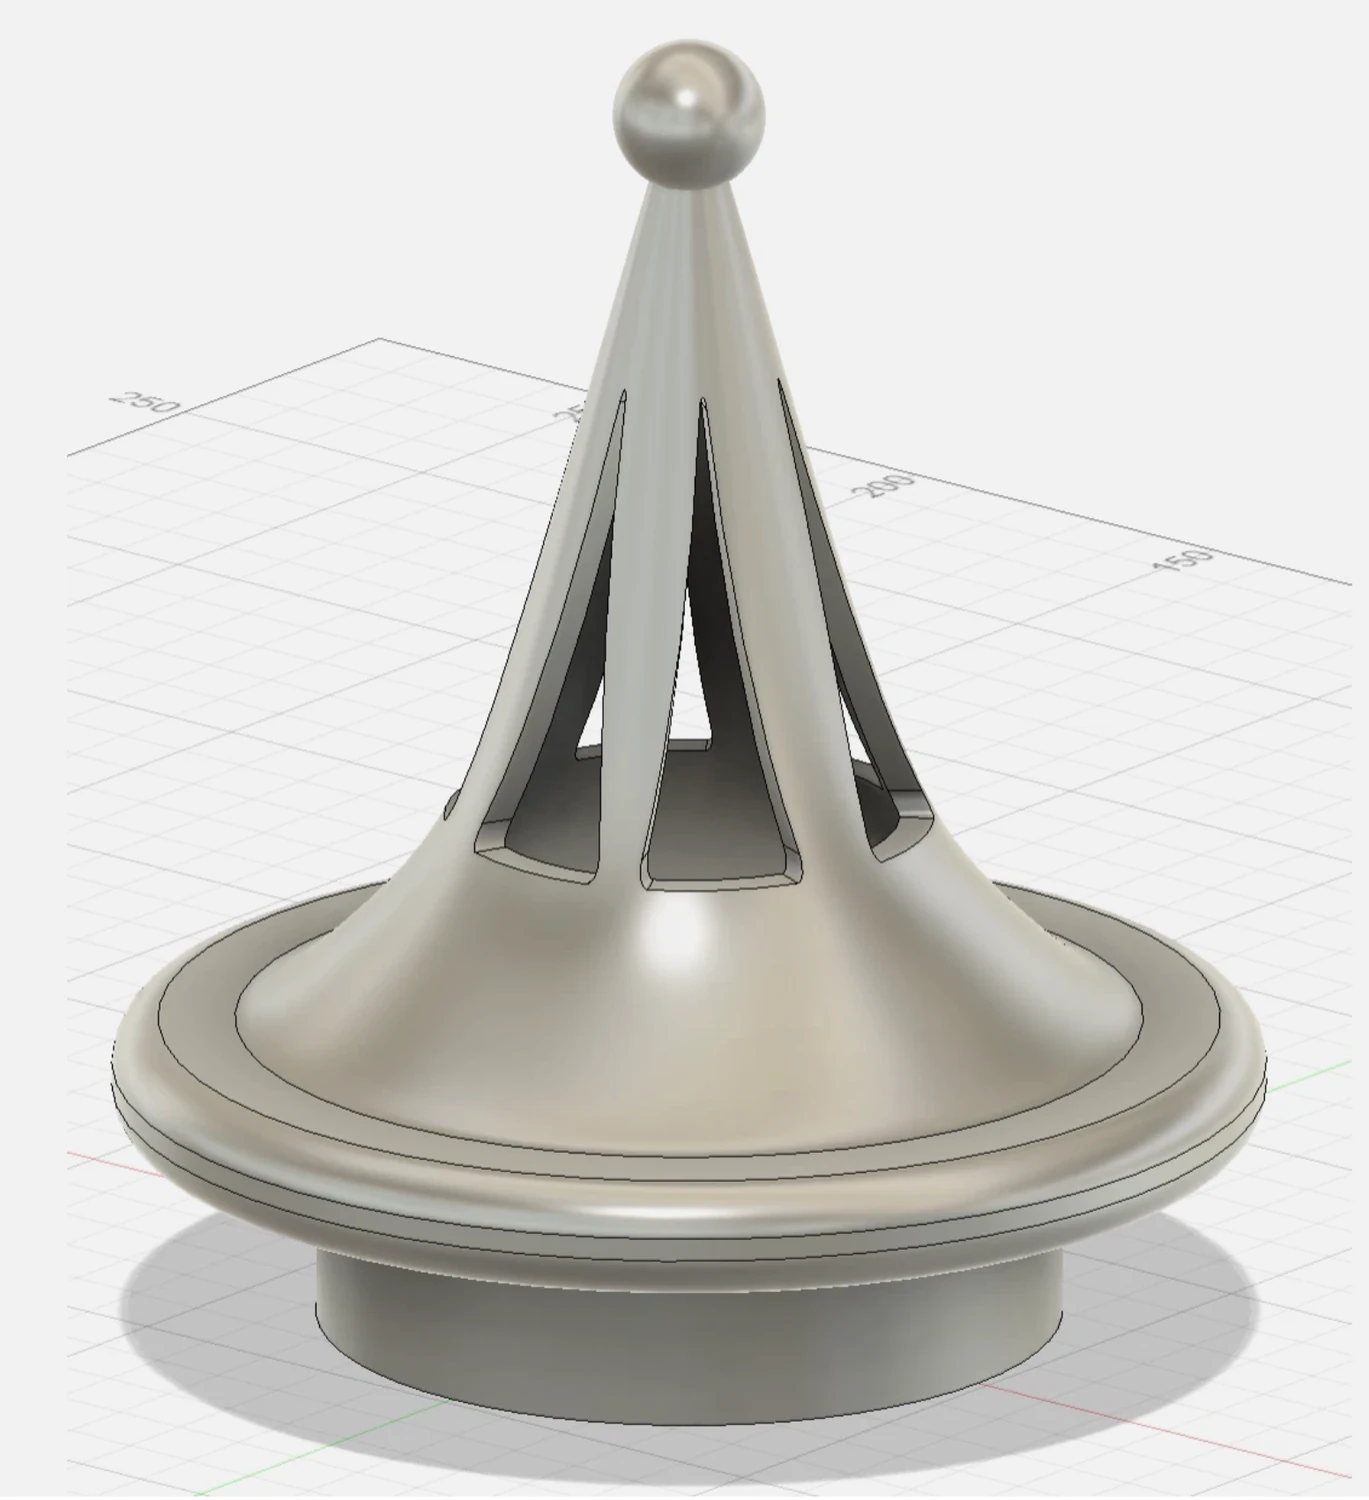
Turning a sketch into a printable model
After clarifying the use case and dimensions in messages, I built the part from scratch in Fusion 360. During the design phase, I sent the client rendered previews so he could confirm that the proportions and overall form matched his expectation before material was committed to a full print.
Why PETG was chosen
Because the part was intended for outdoor use, material choice mattered. Sunlight, moisture and temperature changes all had to be considered. The client planned to paint the part, which helps protect the exterior, but the inside of the geometry could still be exposed over time.
For that reason, PETG was the safest budget-conscious choice. It offered better environmental durability than PLA while staying more affordable than moving into a higher-cost ABS or ASA workflow for a one-off custom job.
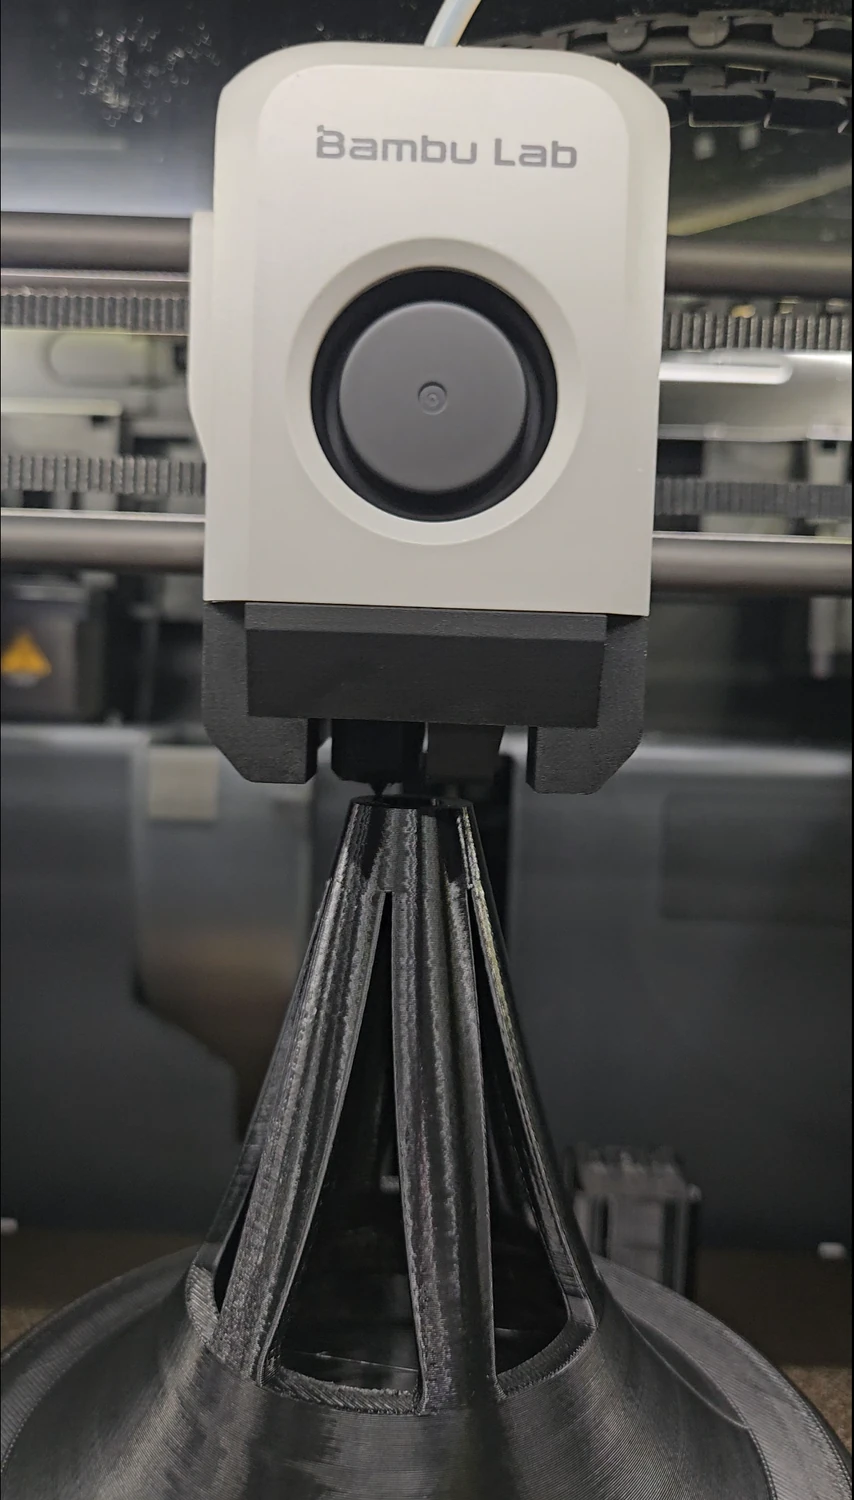
First print, testing and failure analysis
The first print looked good, but appearance alone was not enough. Because the part would be installed on a pipe outdoors, I ran a controlled manual stress test to check how it behaved under realistic handling force.
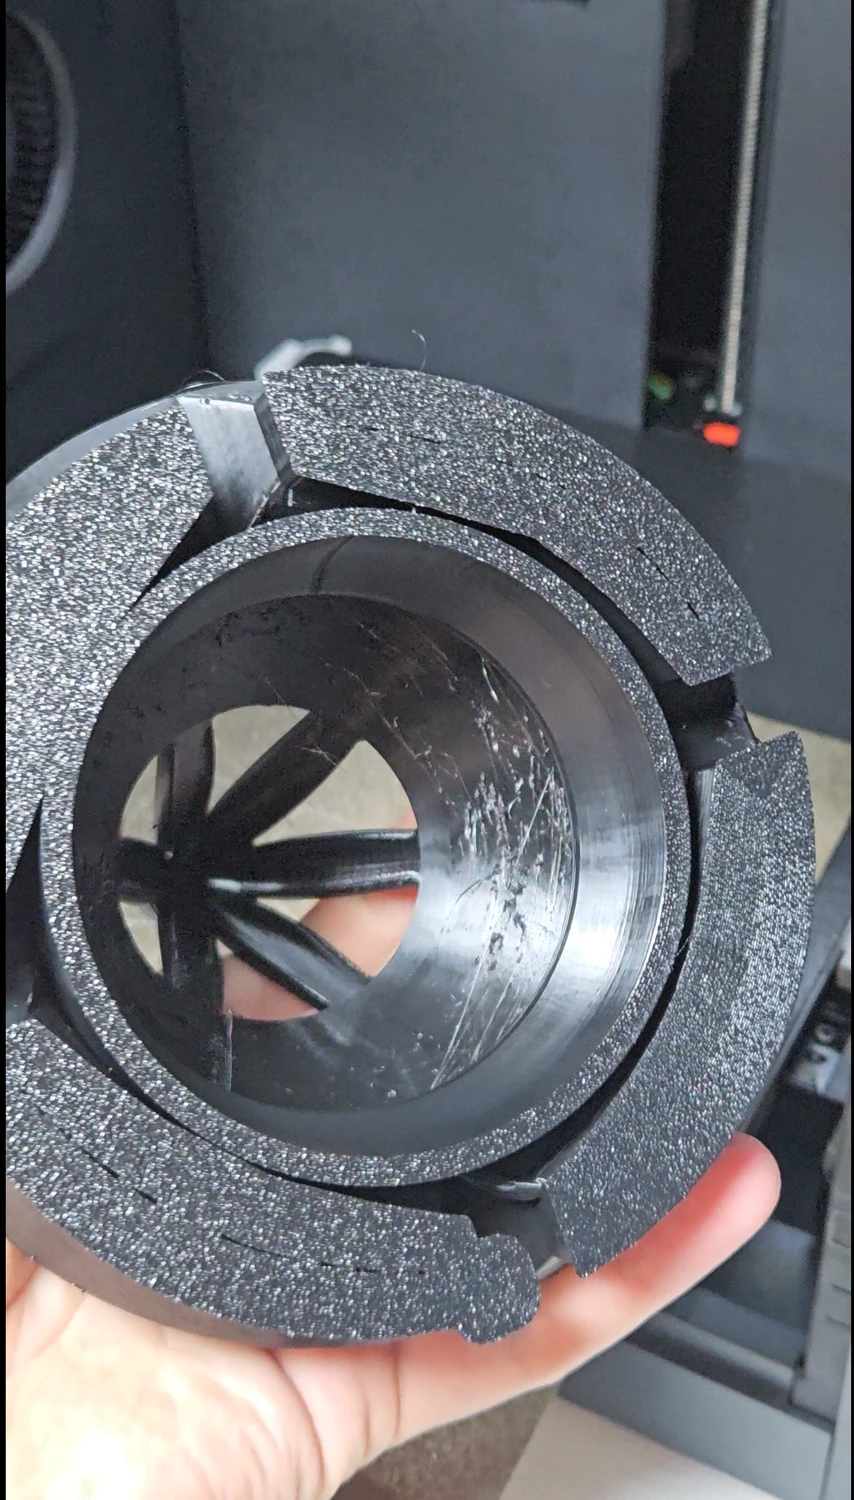
That test exposed a structural weakness. The lower section separated from the upper cowl, even though the print had visually looked successful.
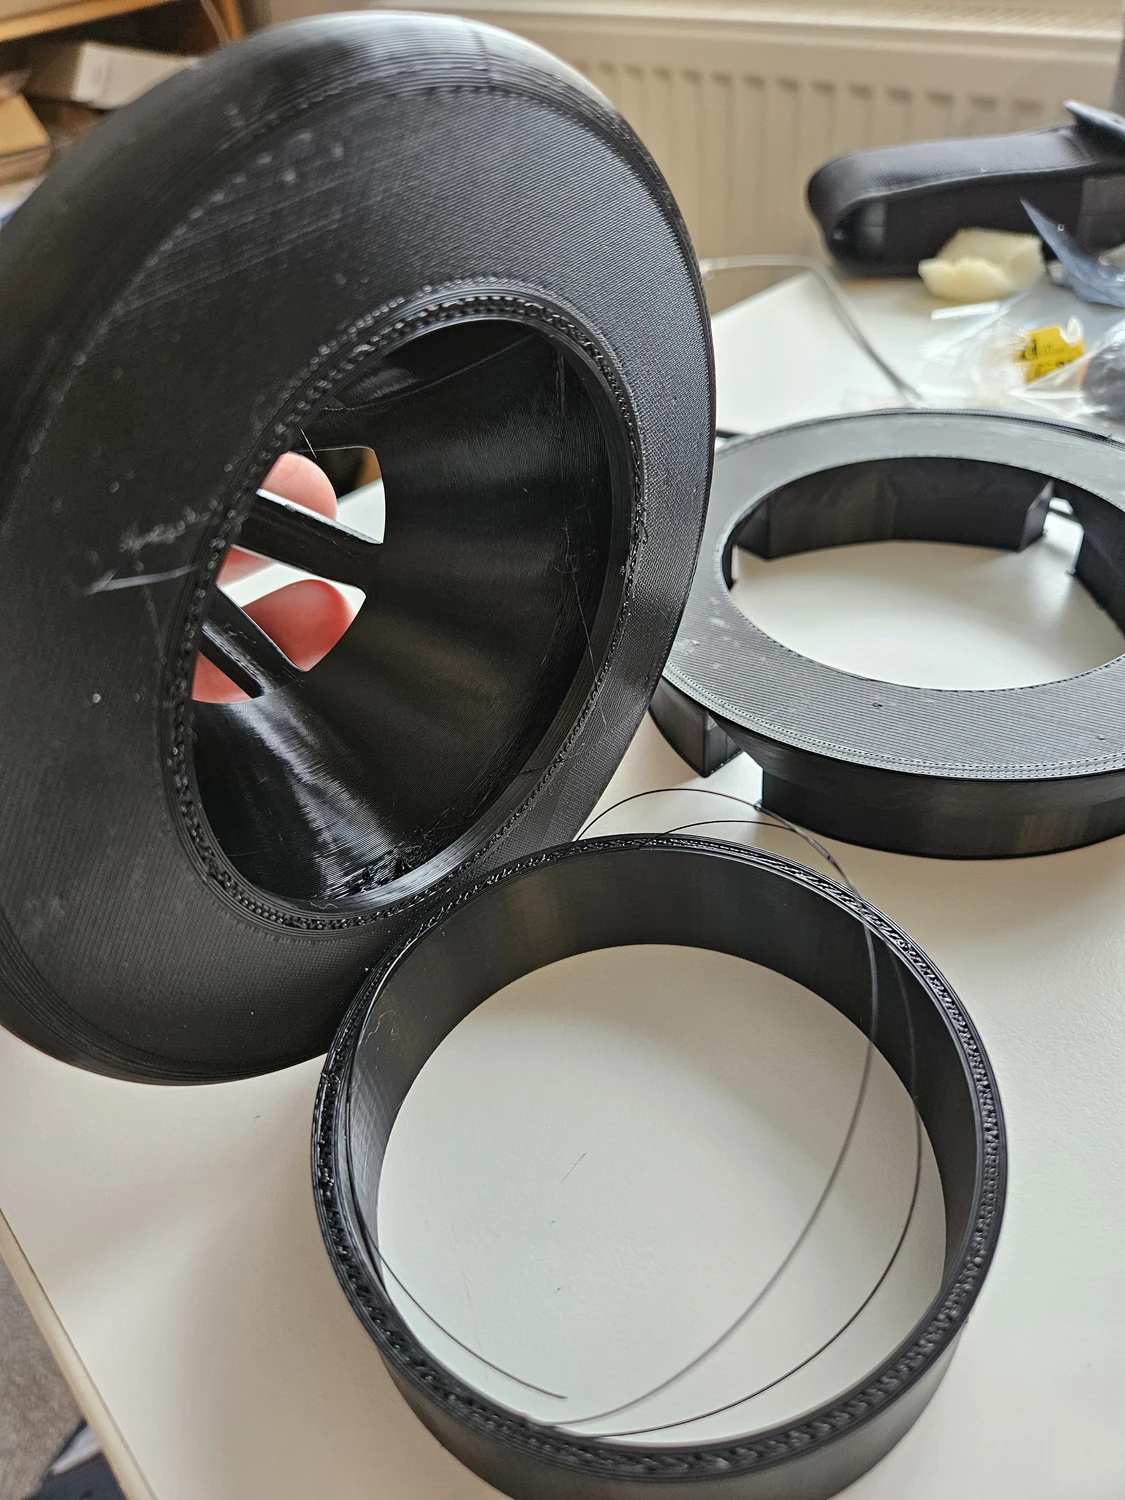
After investigating the result, the issue pointed to poor interlayer strength caused by contamination during material switching. To make support removal cleaner on the decorative overhangs, I had used PLA interface layers against the PETG print. The deeper cause of the failure turned out to be insufficient purging during those PLA-to-PETG transitions on the printer.
Refinement, second print and successful outcome
The solution involved both design and process changes. I increased the thickness of the critical wall section, raised the purge volume significantly and added a prime tower so the nozzle and hotend were cleaned much more thoroughly when switching between materials.
The second version passed the checks and only needed light finishing to remove minor stringing.
I also sent the client both the successful part and the failed sample. That turned out to be useful rather than wasteful: the spare sample let the client test paint adhesion and fit without risking the final decorative piece.
Result
The client later painted the finished cowl, installed it on the building and shared a positive review together with a real-world photo of the installed part.
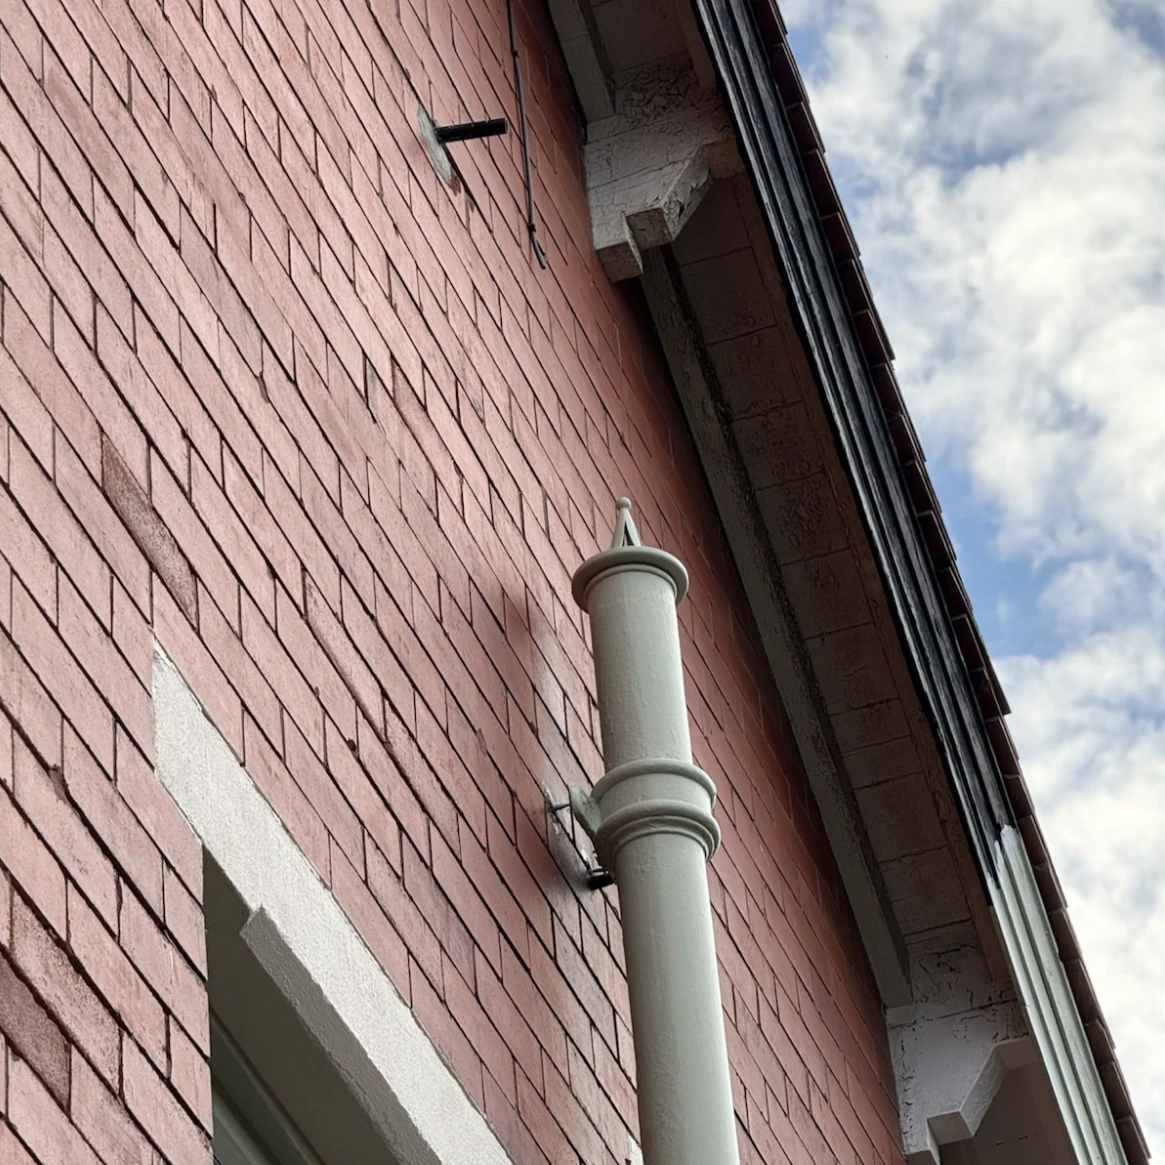
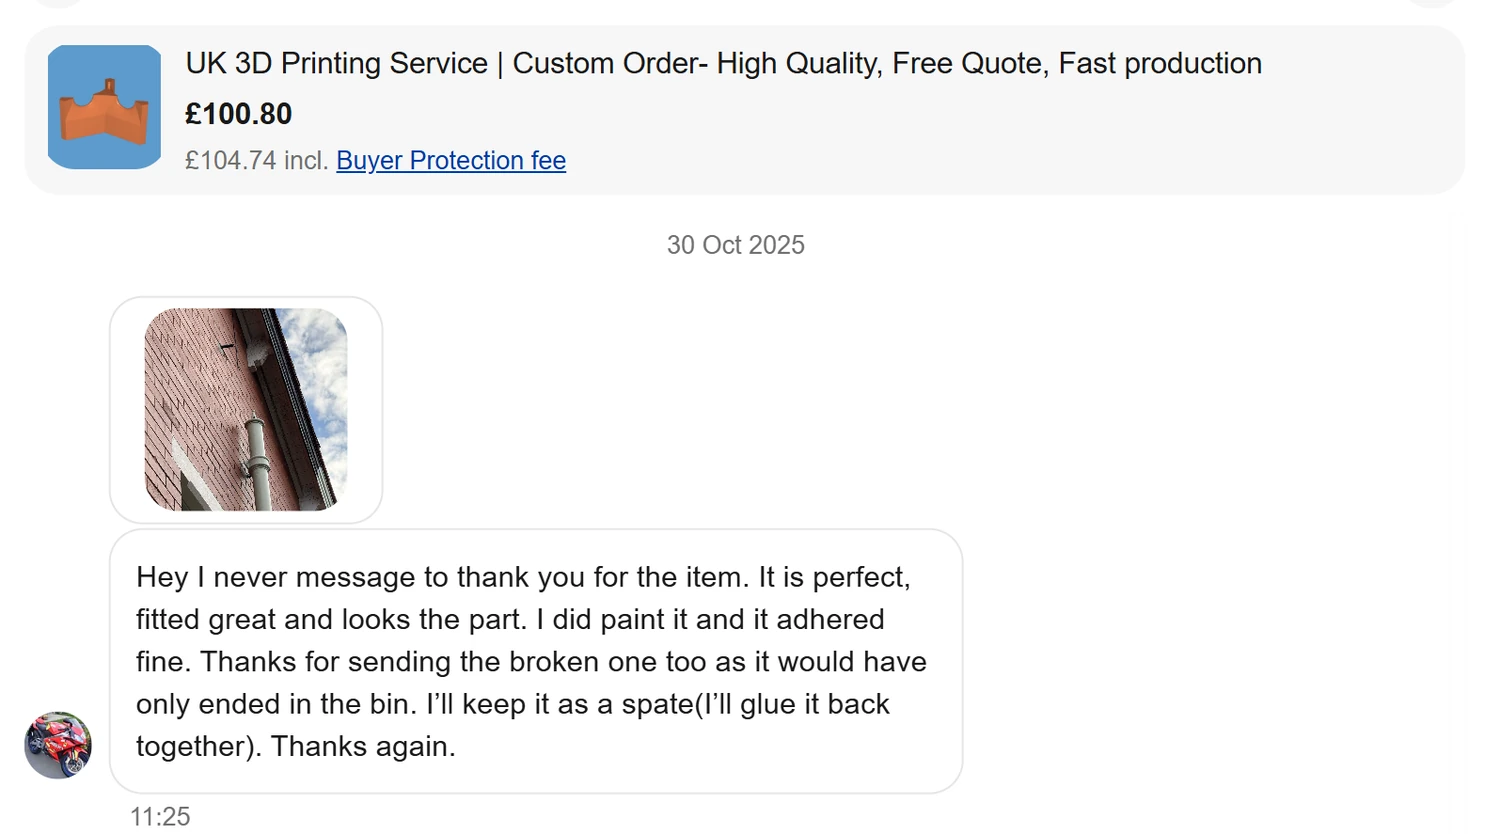
This is one of the strongest examples on the site because it shows the full workflow honestly: idea, sketch, CAD, printing, testing, failure analysis, redesign and final installation.
Related: FDM 3D Printing, PETG, 3D Design & File Support, Get a Quote.
Related
FDM 3D Printing
See build size, material choices and common functional use cases.
PETG
Tougher functional material guidance and common use cases.
Projects & examples
Browse more real-world projects across FDM, resin and batch production.
Get a Quote
Send your file or brief for an exact price and lead time.
Ready to print?
Send your file (or your idea) and we’ll reply fast with options and a clear quote.