

Projects
Reverse-engineered replacement radio front cover in an oak-toned filament
A legacy-part restoration job where the challenge was not just shape, but recreating the internal features needed for real installation.

Project snapshot
| Item | Details |
|---|---|
| Process | FDM |
| Part type | Replacement front cover / grille for older radio equipment |
| Printer | Large-format Elegoo 4 Max |
| Size | Over 30 cm long |
| CAD work | Fully reverse-engineered from the original damaged part |
| Lead time | ~2 days including modelling and printing |
| Price | £40 |
The problem
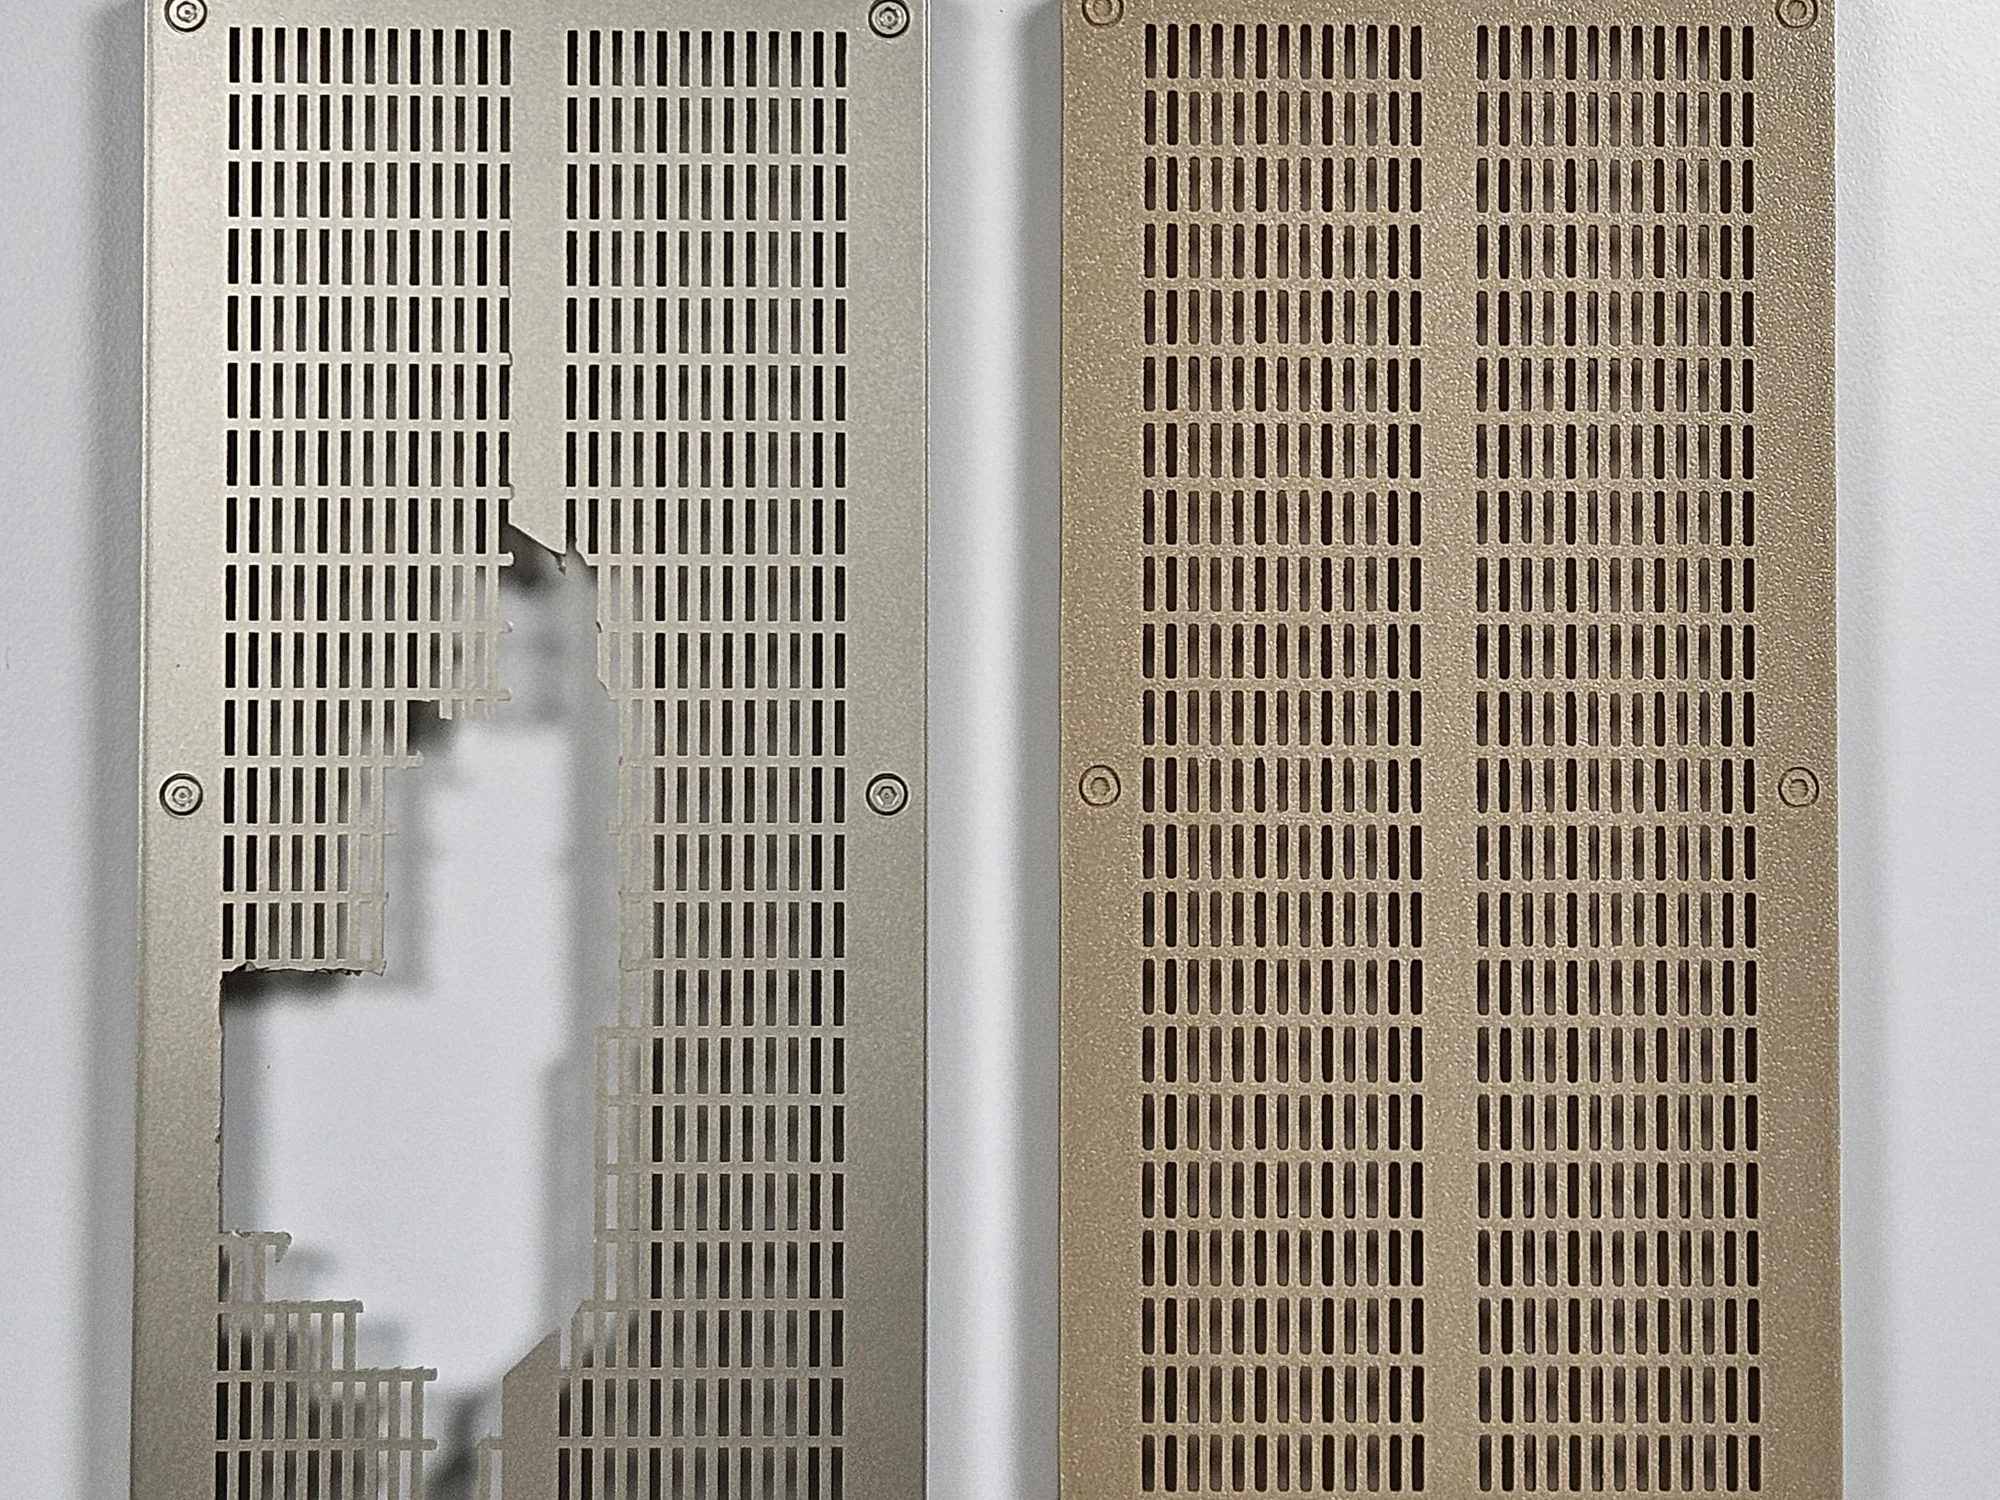
The client had a damaged front cover from an older radio or audio unit. The original plastic component was cracked, broken through the grille area and no longer suitable for a reliable repair. Because replacement parts for legacy equipment are often unavailable, the practical solution was to create a complete new part.
We agreed that the damaged original would be sent to me for measurement, so the replacement could be based on real geometry rather than guesswork from photographs.
Reverse-engineering the part
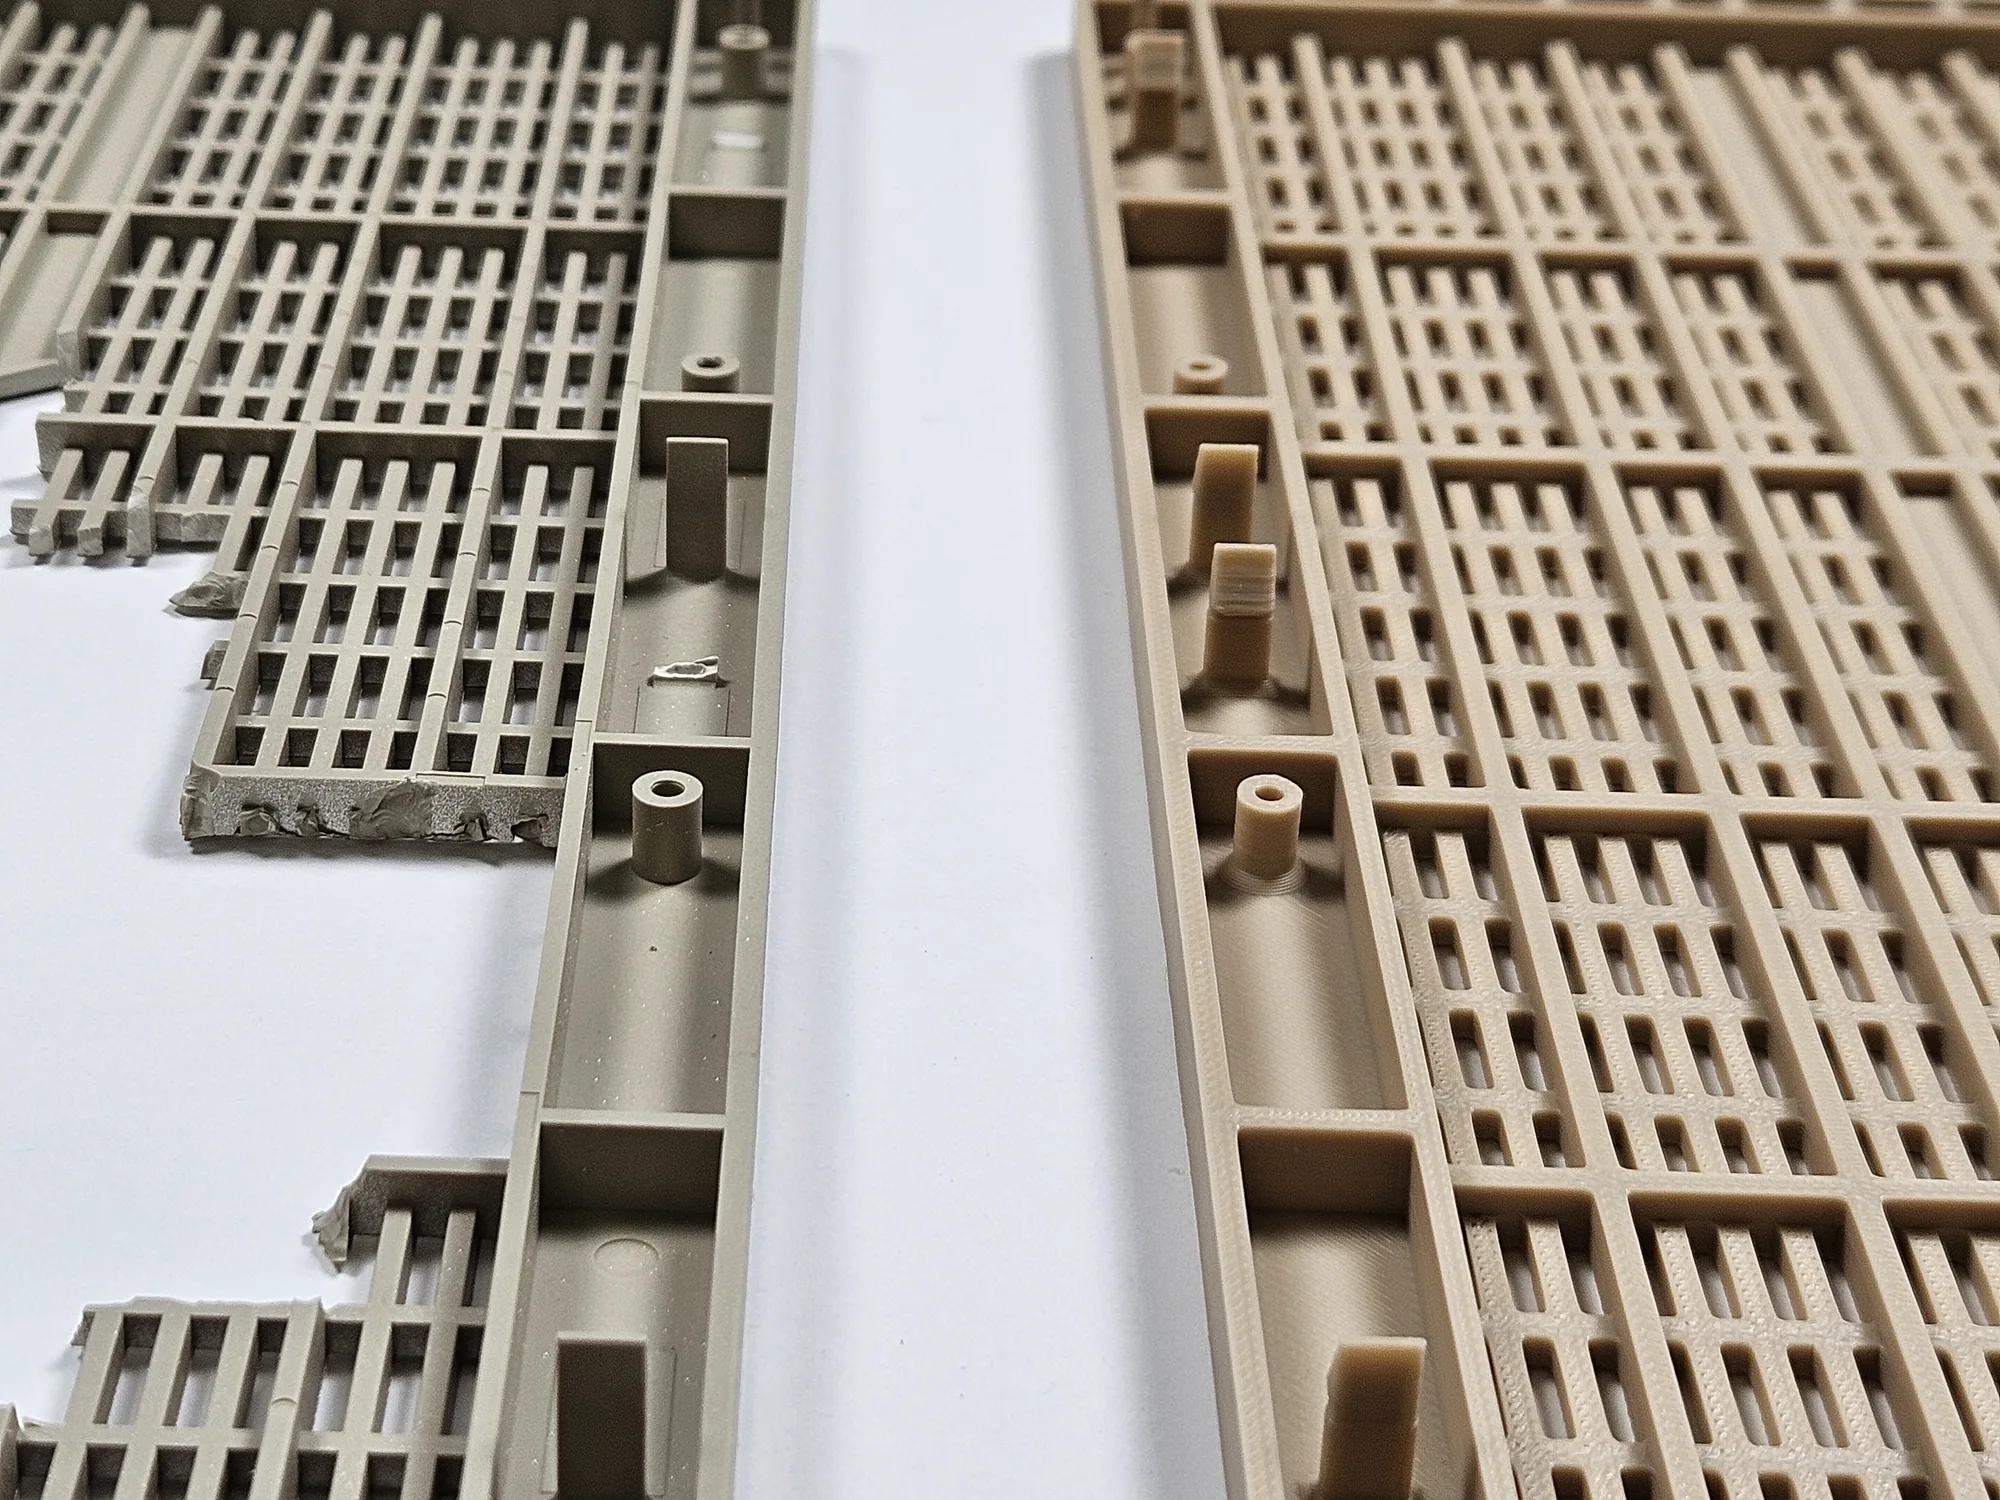
The goal was not only to recreate the visible front face, but also the functional internal structure that allowed the part to fit properly once installed.
That meant reproducing:
- the outer profile and visible grille pattern
- the internal ribs and reinforcement geometry
- screw posts and fastening locations
- rear-side clips and mounting features
Production approach
1) Large-format FDM printing
Because the cover was more than 30 cm long, I chose a large-format Elegoo 4 Max printer so the replacement could be produced as a single full-size part. Printing it in one piece avoided joints, alignment issues and extra assembly steps.
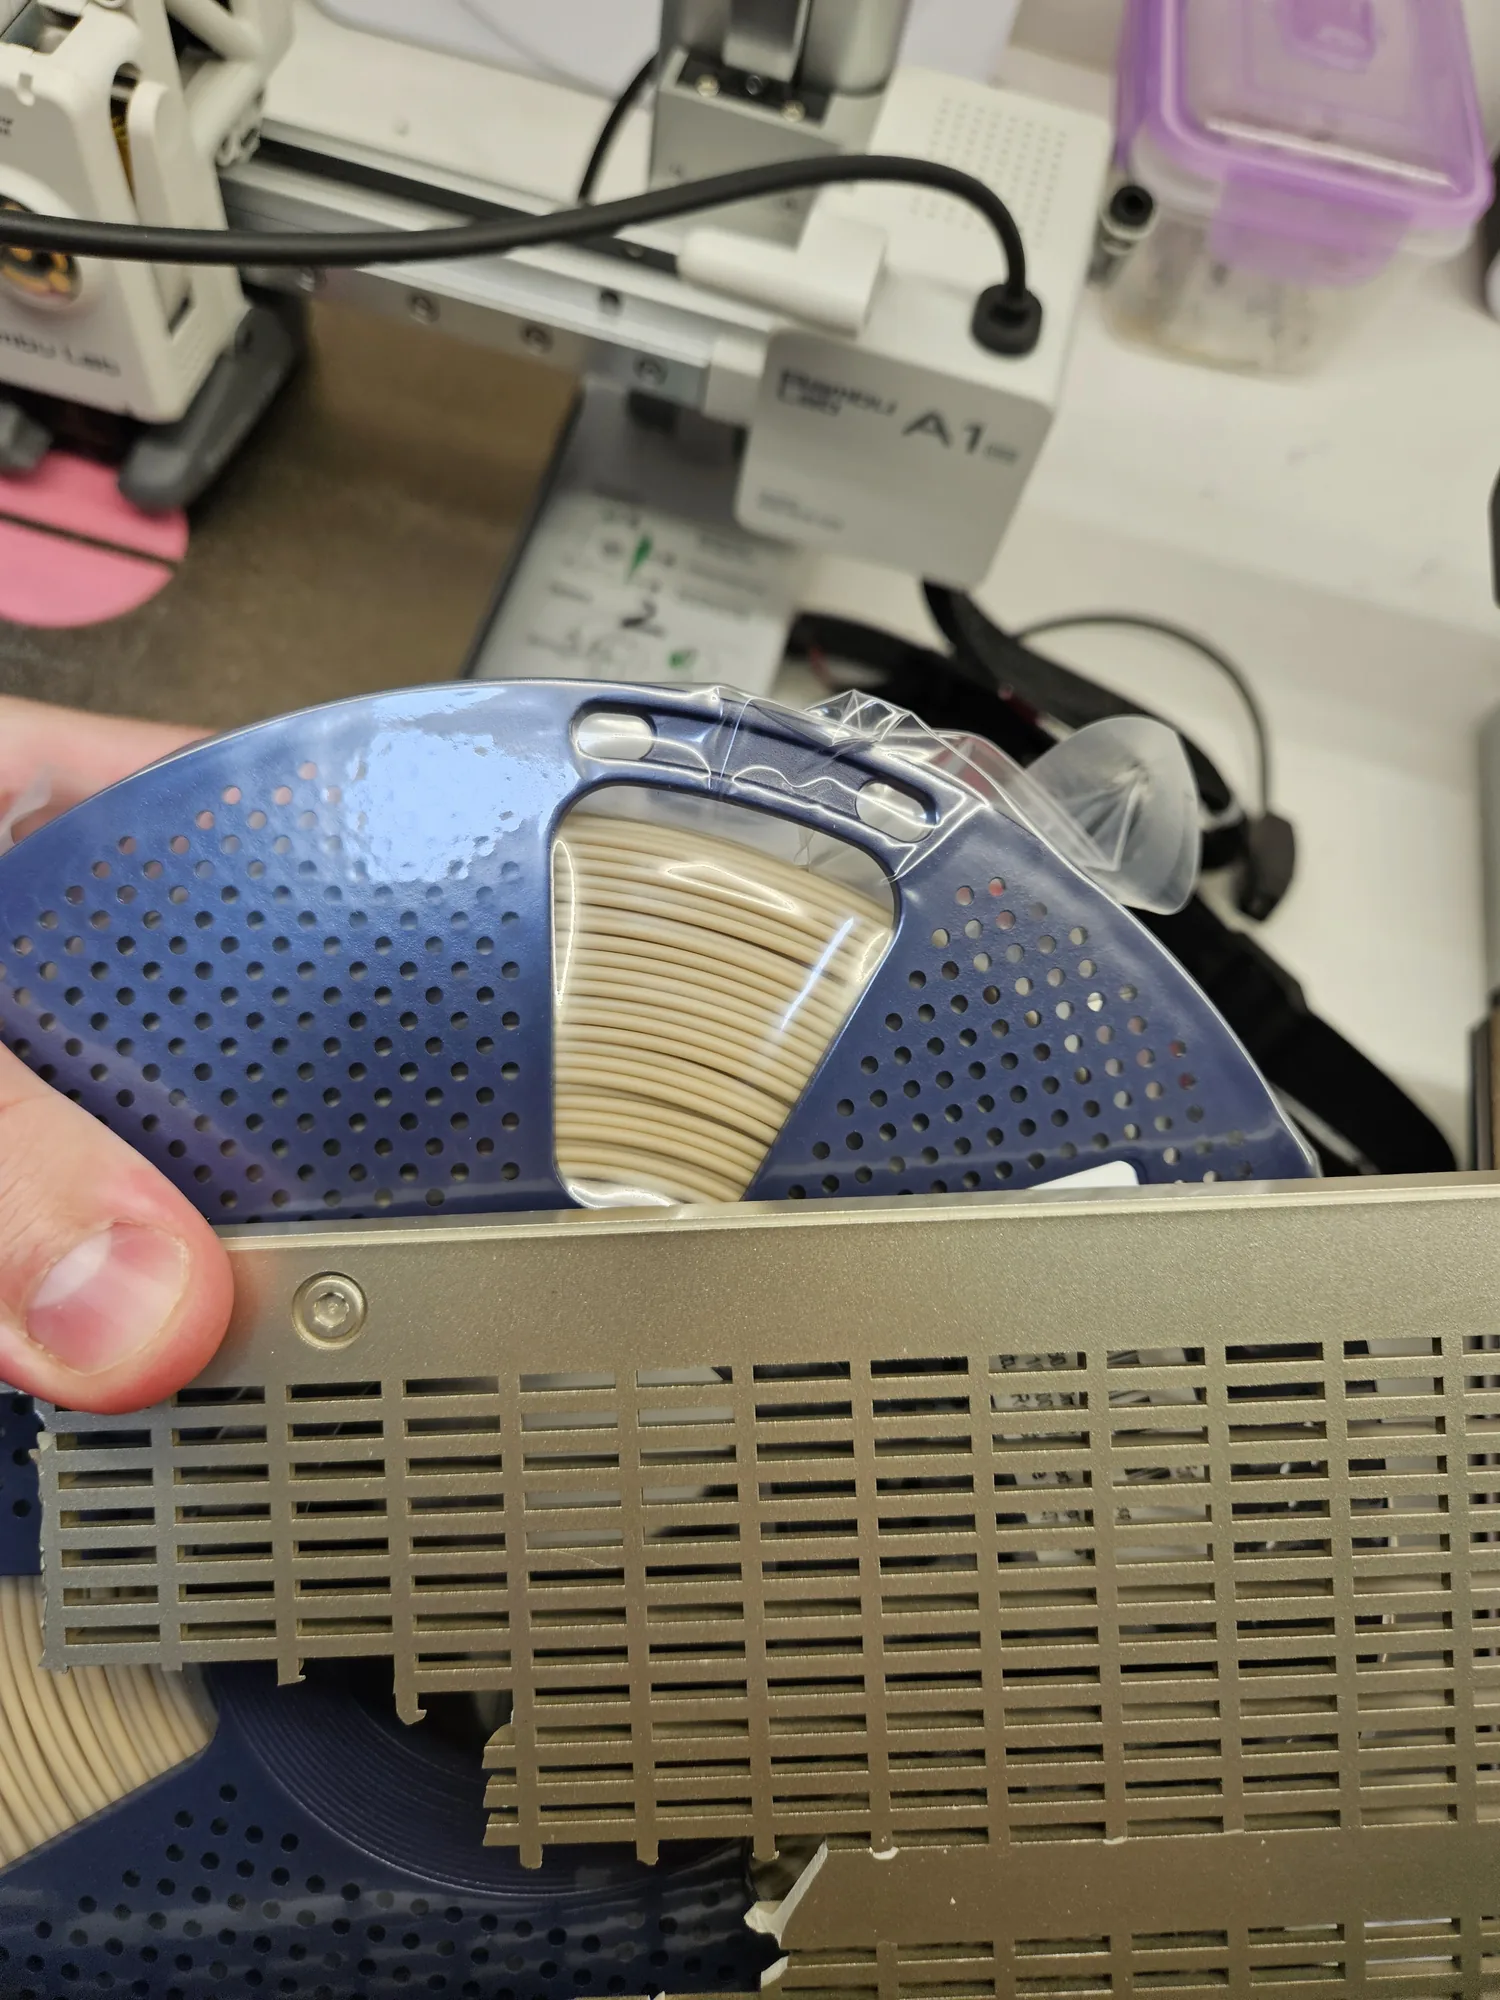
2) Matching the original colour as closely as practical
The client wanted a quick turnaround, so instead of ordering a special filament and adding delay, we chose the closest suitable material already available in stock. The selected filament had an oak-like tone that worked surprisingly well against the original part.
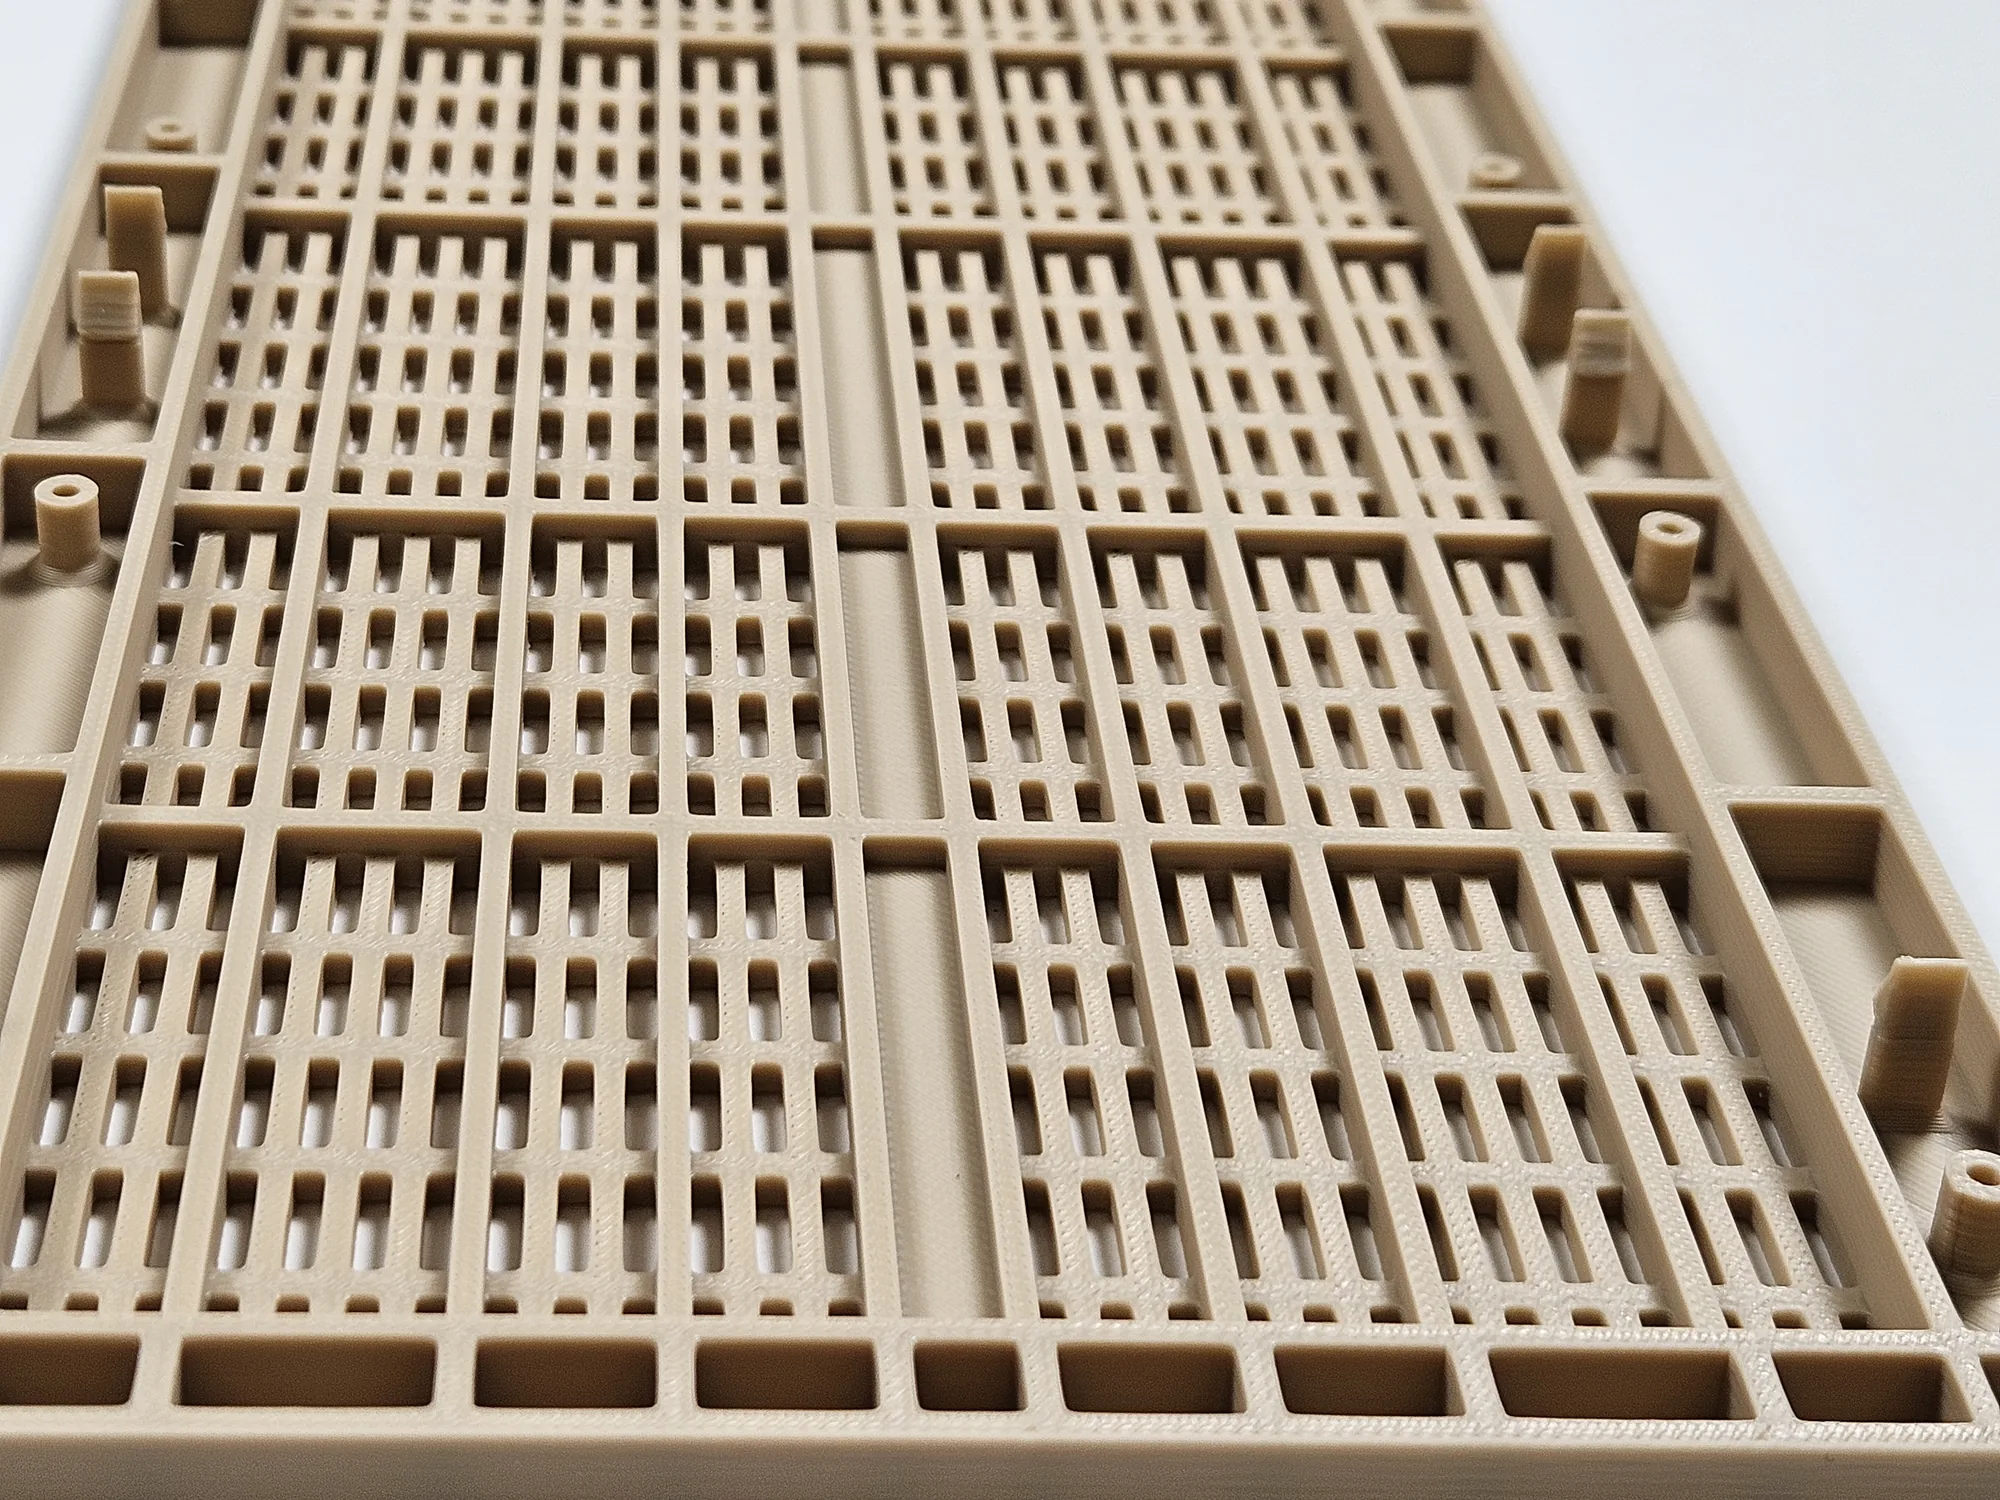
3) Recreating the rear-side structure
One of the most important parts of this job was the reverse side. The internal ribs, screw posts and clip areas had to be recreated so the new cover would behave like a real replacement part, not just a decorative front shell.
Result
The finished replacement mirrored both the appearance and the functional structure of the original component. The comparison photos show the old and new parts side by side from the front and rear, making the level of reconstruction clear.
The part was completed within 2 days, including measuring, modelling and printing, and supplied for £40.
This case is a strong example of how 3D printing can support restoration work, obsolete equipment repairs and one-off replacement parts when the original component is damaged and spares are no longer readily available.
Related: FDM 3D Printing, 3D Design & File Support, Batch & Commercial Orders, Get a Quote.
Ready to print?
Send your file (or your idea) and we’ll reply fast with options and a clear quote.