

Projects
Zyxel XMG1915-10E: from a two-part rack adapter to a one-piece print
A customer needed to put a compact network switch into a 19-inch rack. The first order solved that immediate problem; repeat demand led to a simpler, one-piece production version.
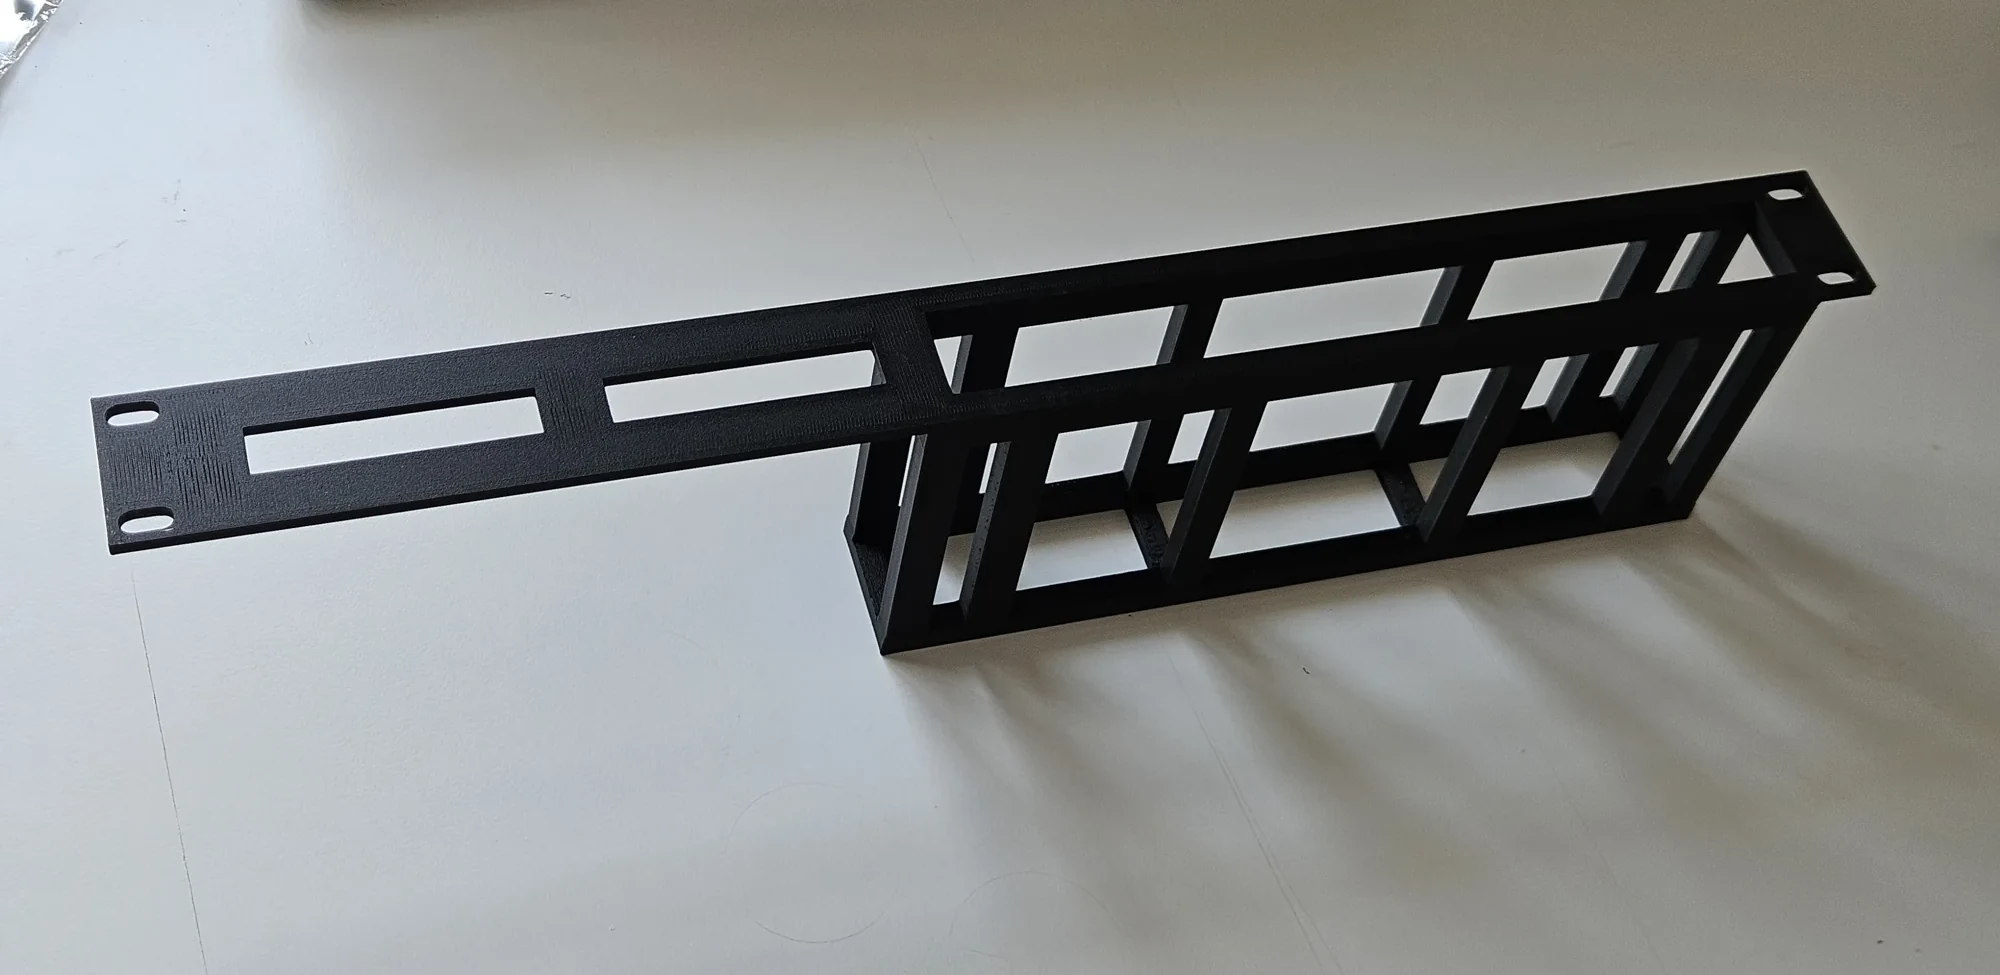
Project snapshot
| Item | Details |
|---|---|
| Application | 19-inch rack adapter for a Zyxel XMG1915-10E switch |
| Starting point | Existing model selected by the first customer |
| Development | Two joined halves, followed by a one-piece adaptation |
| Process | FDM, 0.4 mm nozzle, 0.2 mm layers, 100% infill |
| Materials | PLA or PETG |
| Printing time | Approximately 14 hours |
| Usual dispatch | 1–2 working days |
| Price at the time of this case study | £22 in PLA or £28 in PETG; delivery extra |
A practical solution without a full design bill
The enquiry came from an eBay customer who had seen our smaller, 10-inch rack adapters. This time, the requirement was to mount a Zyxel XMG1915-10E in a 19-inch rack, with a fitted holder rather than a generic shelf.
Before charging for measurements and a new CAD design, we suggested looking for an existing printable model. We helped with the search, and the customer selected a design they considered suitable for their switch and rack. Our first task was to assess and produce that model, rather than create the original geometry from scratch.
The order stayed on the customer's original platform, with the listing setting out exactly what would be supplied.
The first version: two parts, joined after printing
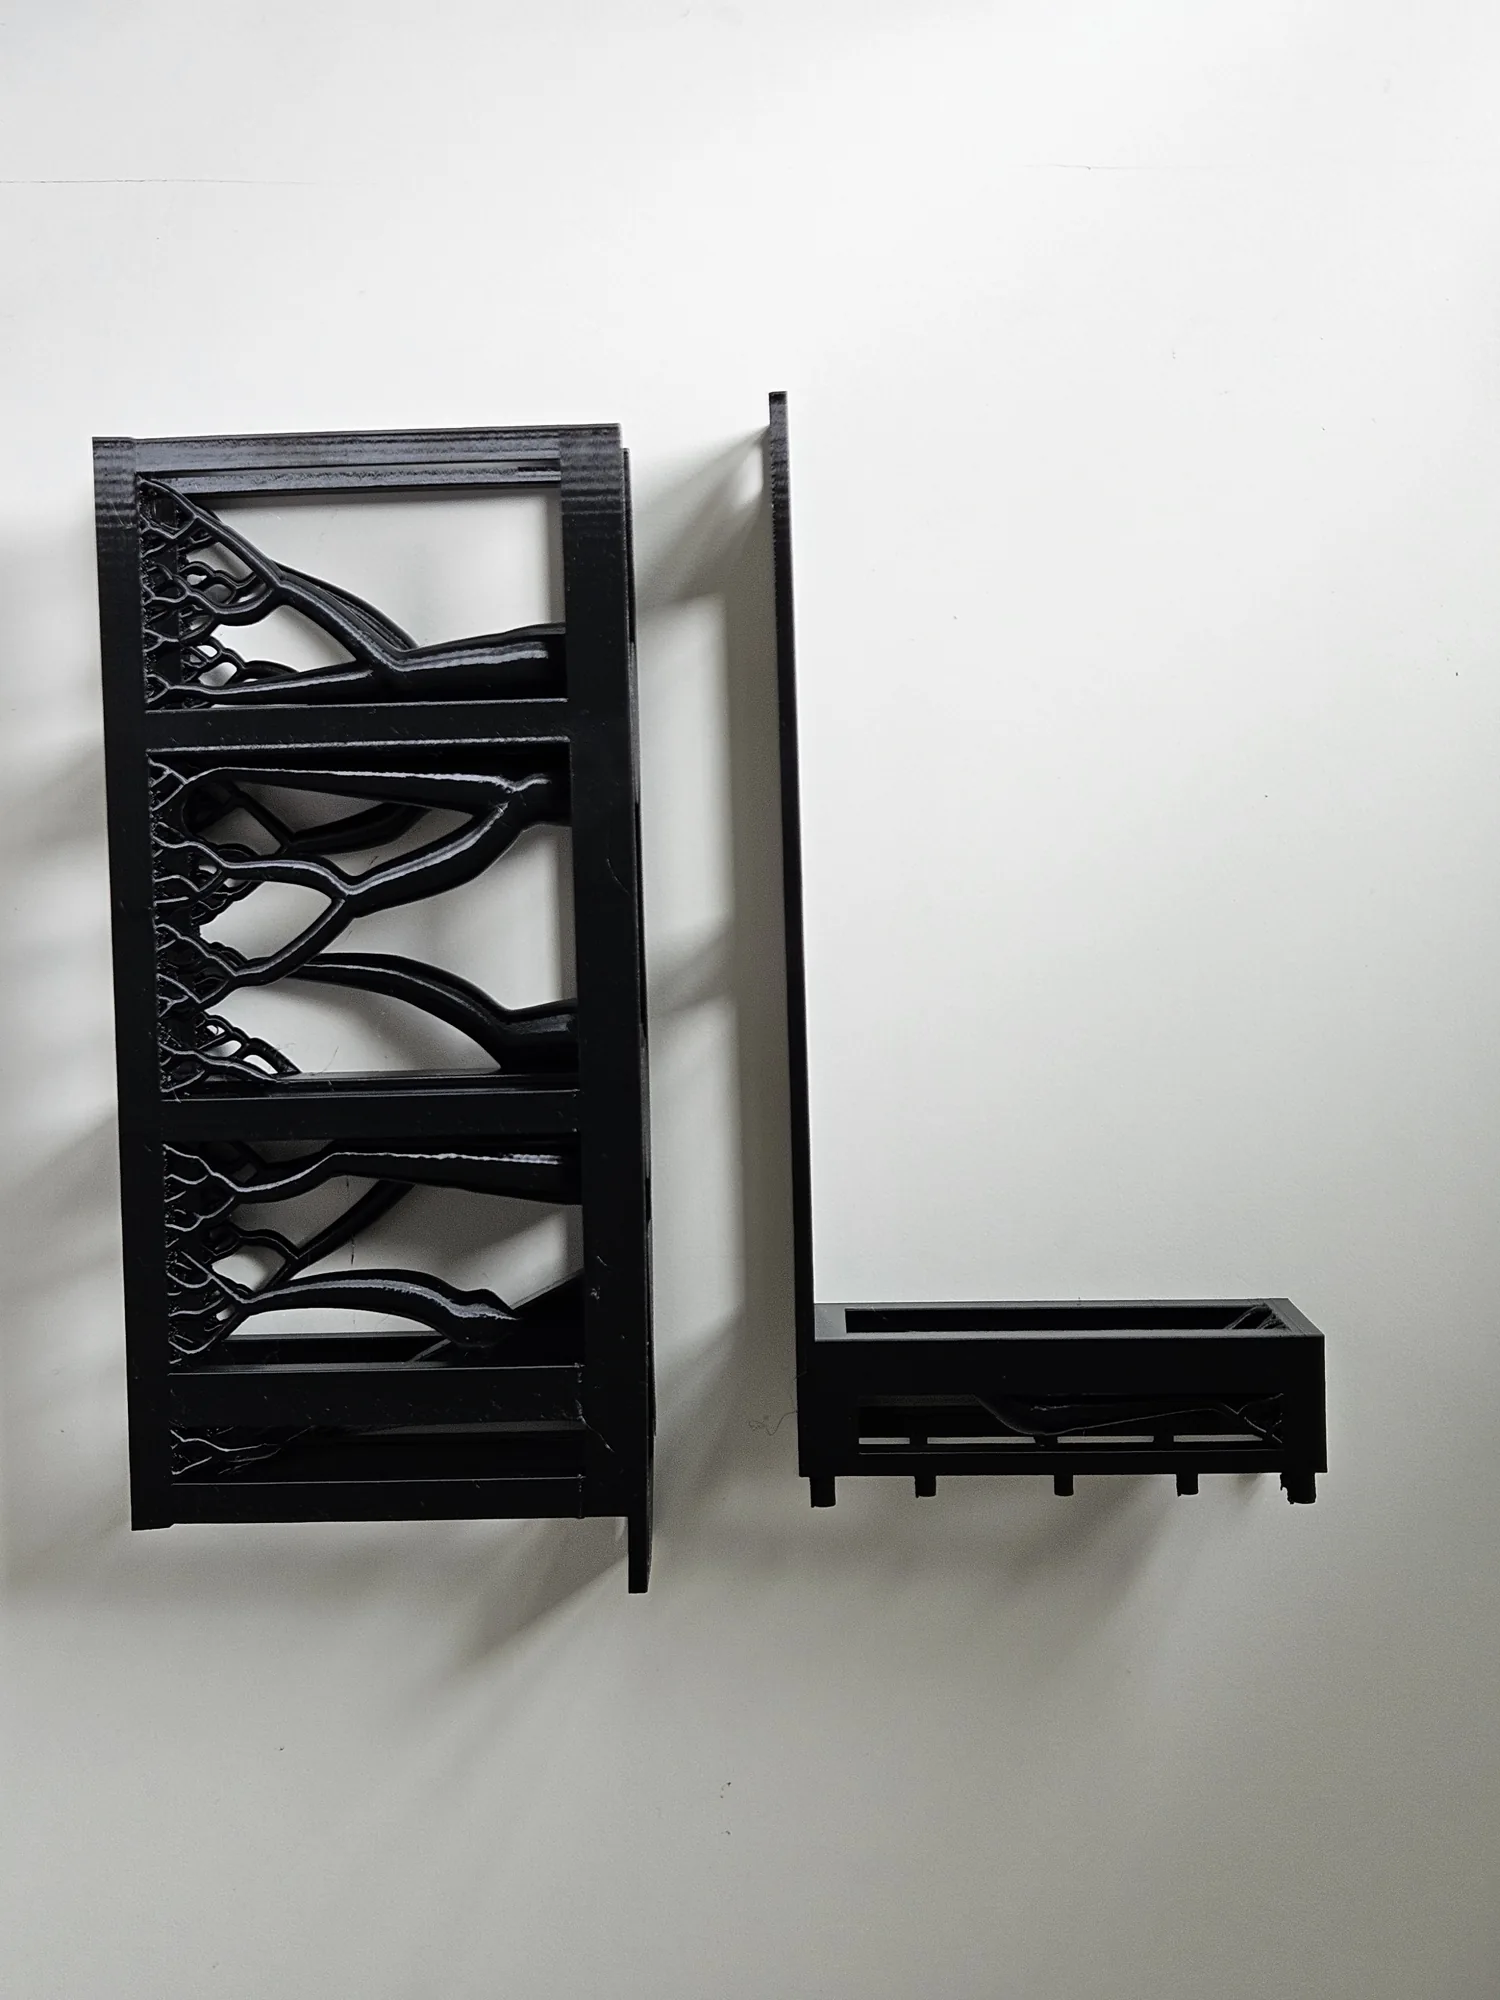
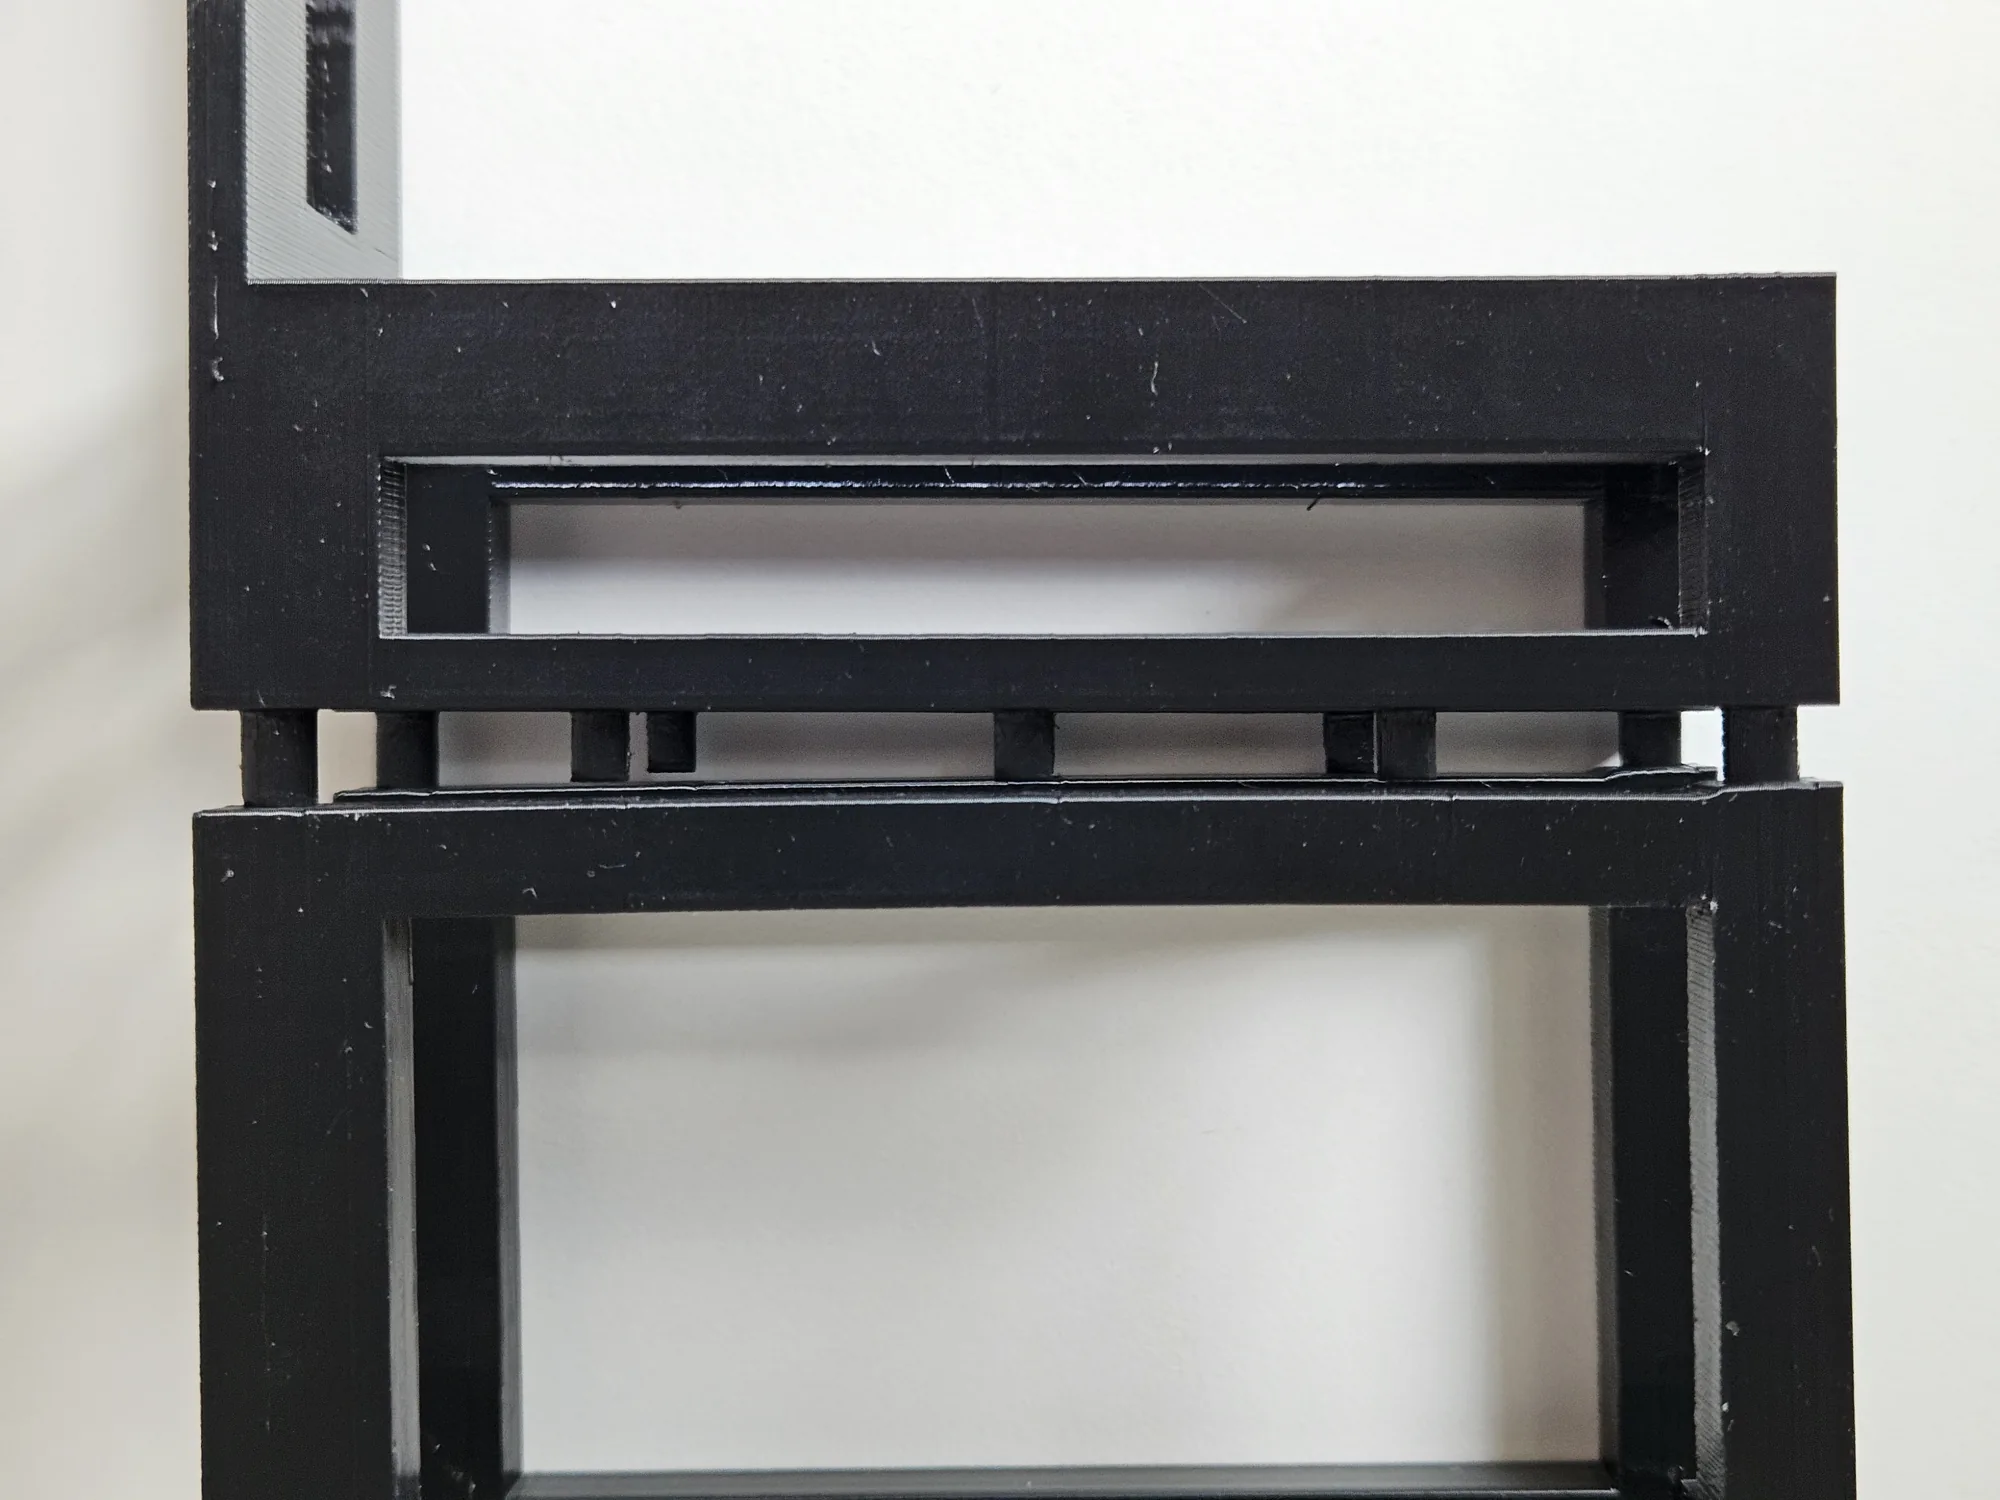
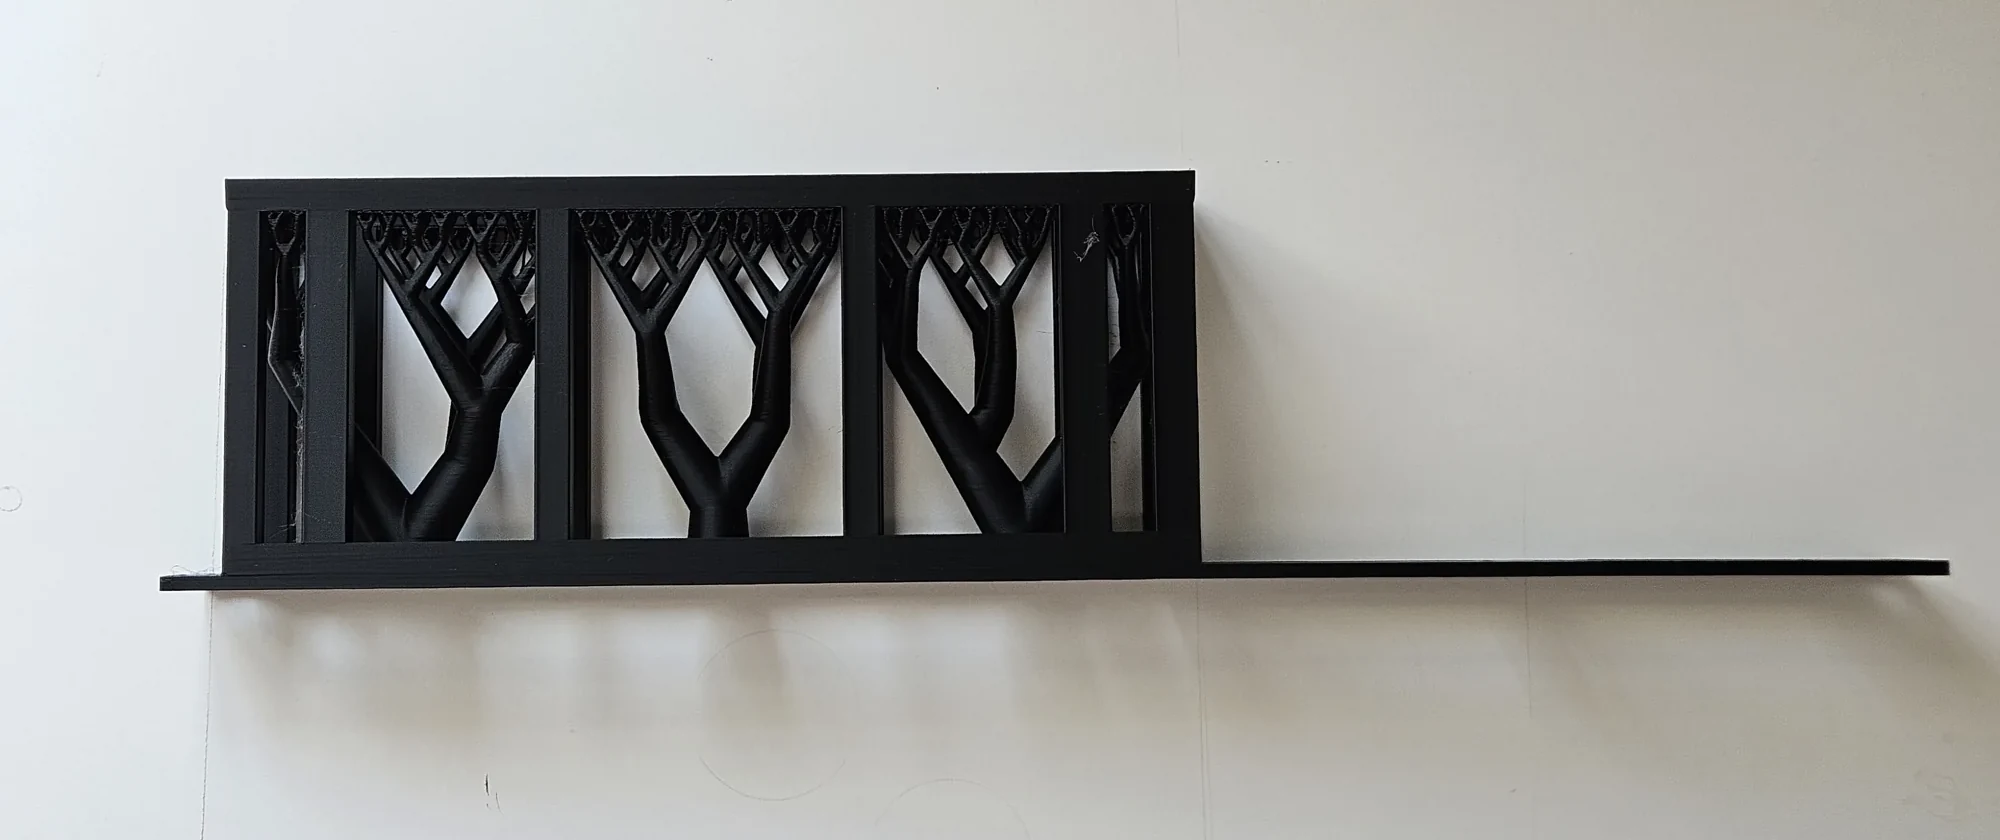
The selected model was split into two interlocking parts so it could be produced on a printer with a build volume of roughly 256 mm. We printed the first adapter in PLA, removed the supports and glued the mating sections together.
PLA kept the initial order affordable and worked well for the supported geometry and the fit of the joining features.
Repeat demand made a one-piece version worthwhile
Further orders followed the first listing. For repeat production, we adapted the model by joining the geometry into a single printable part.
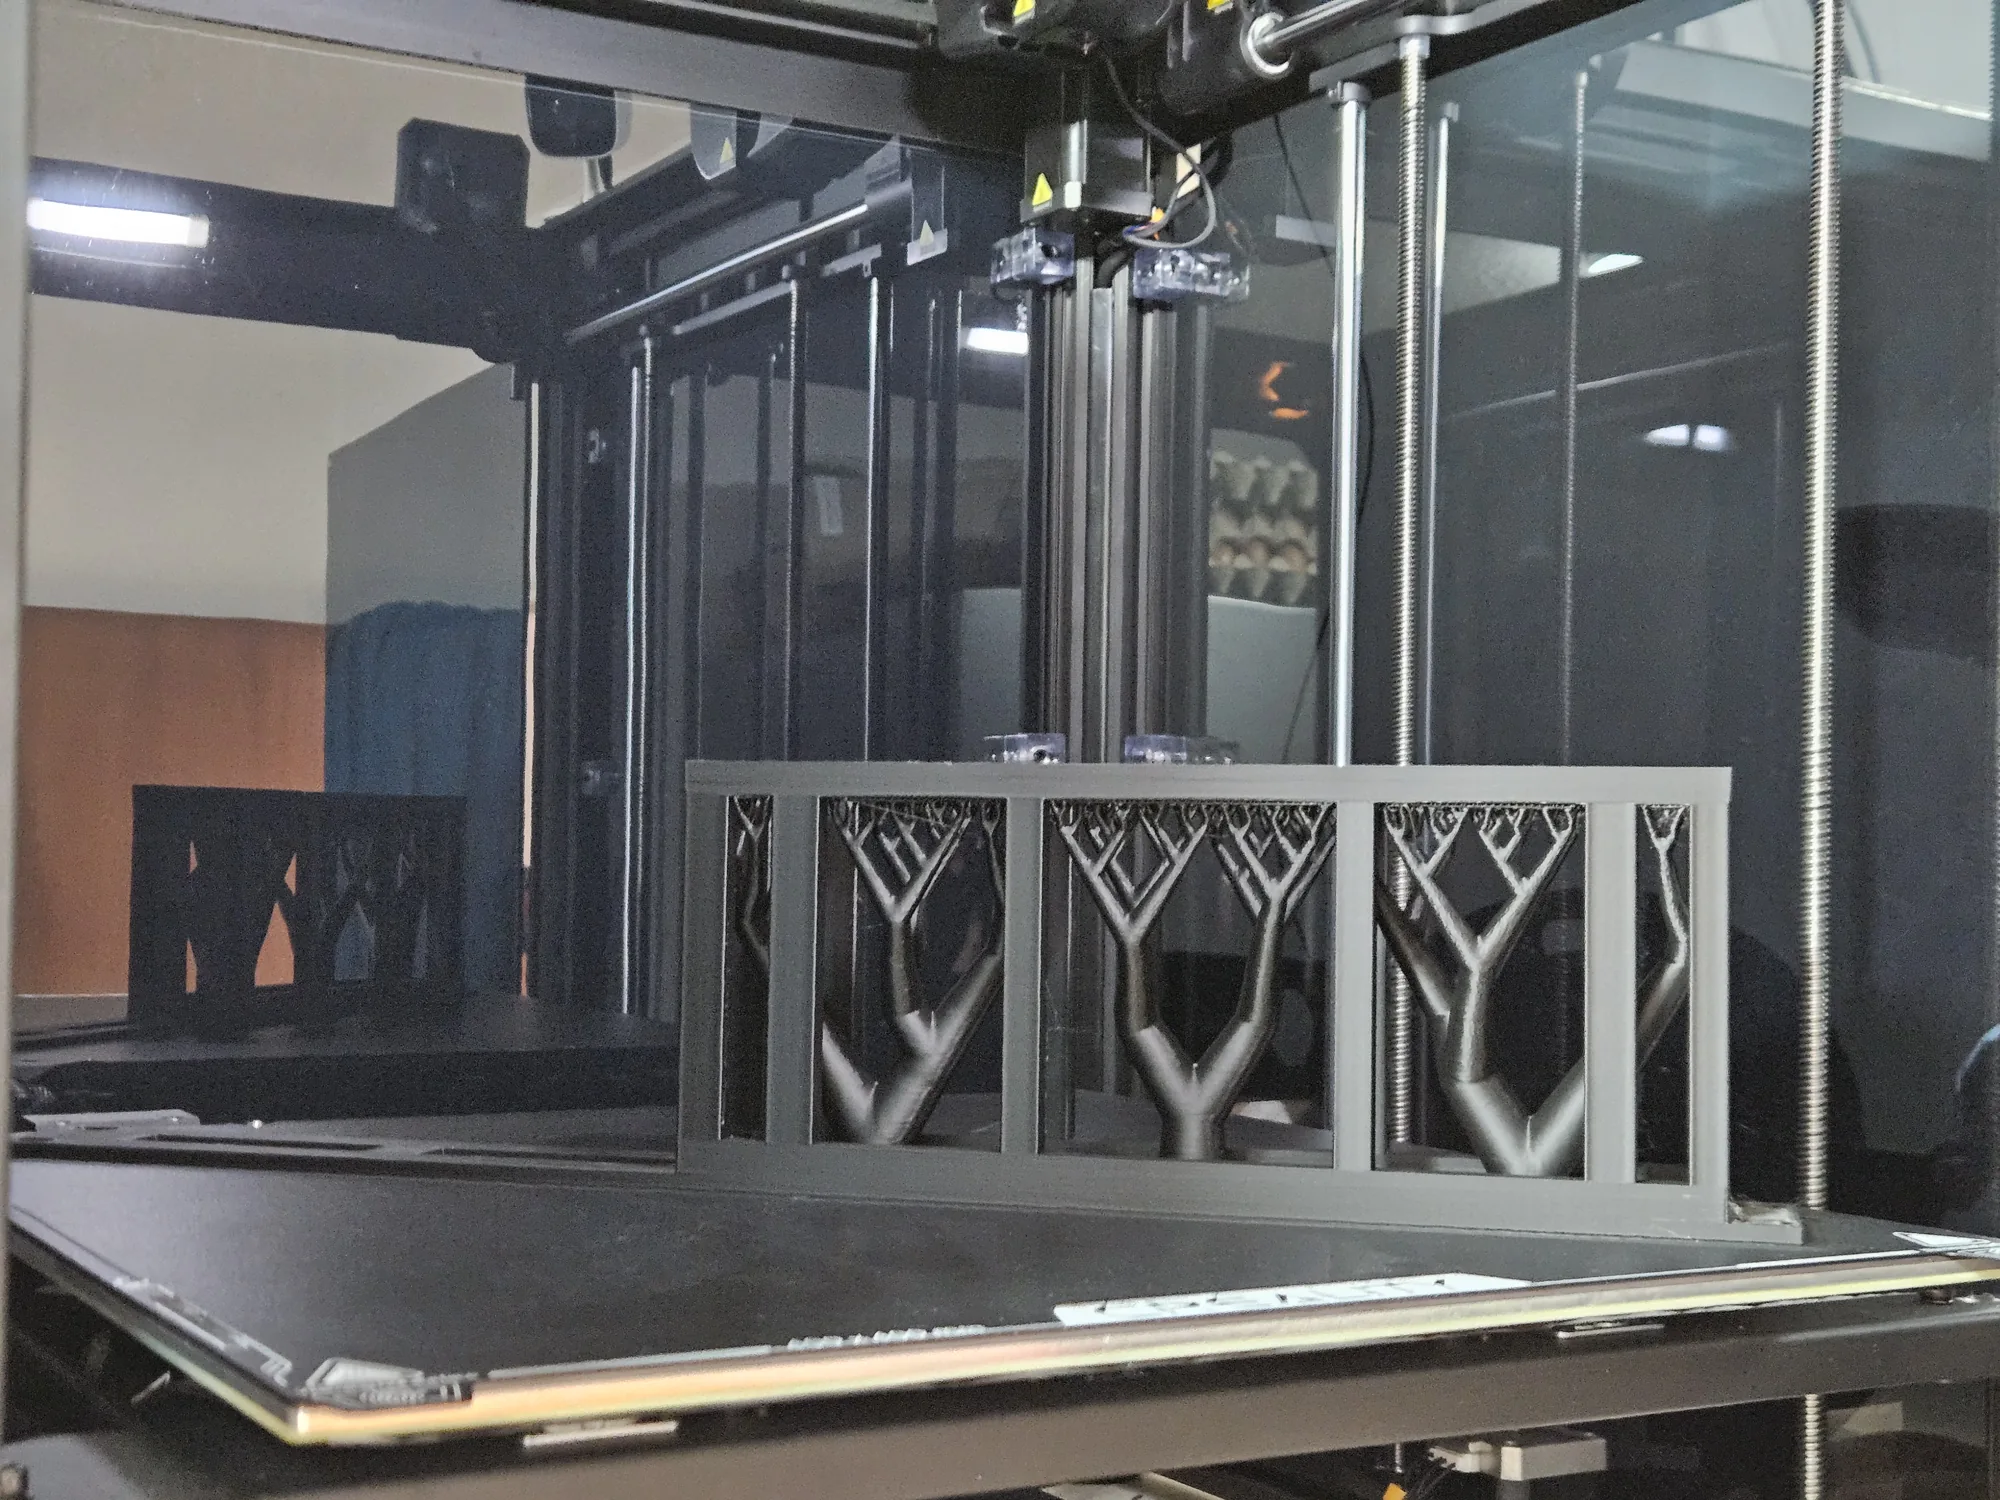
The larger Creality Ender 5 Max, with its 400 × 400 × 400 mm build volume, made this possible: the long adapter is placed diagonally across the bed. The current version removes the glued joint and the separate joining step, giving the front panel a continuous appearance.
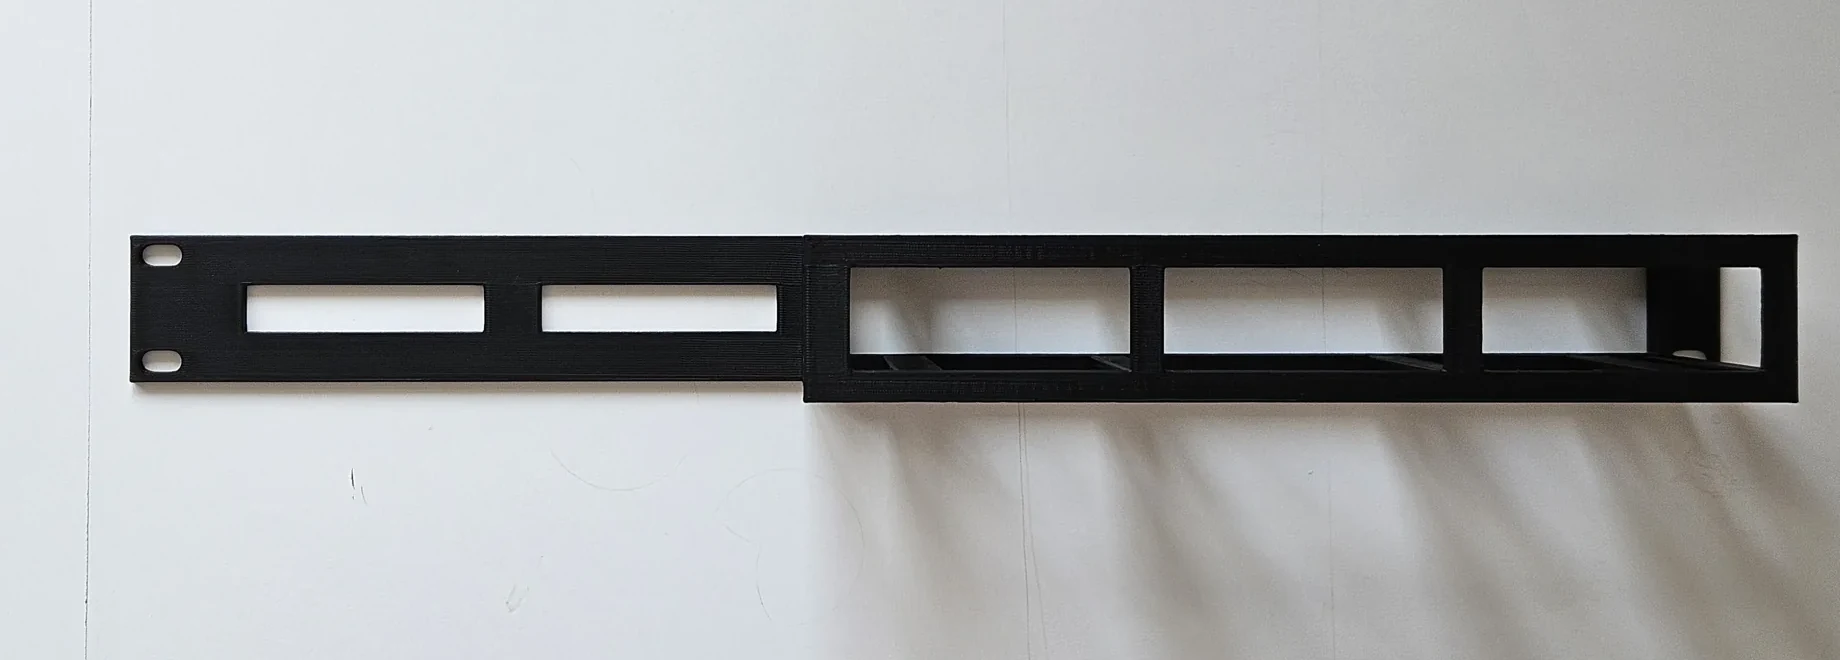
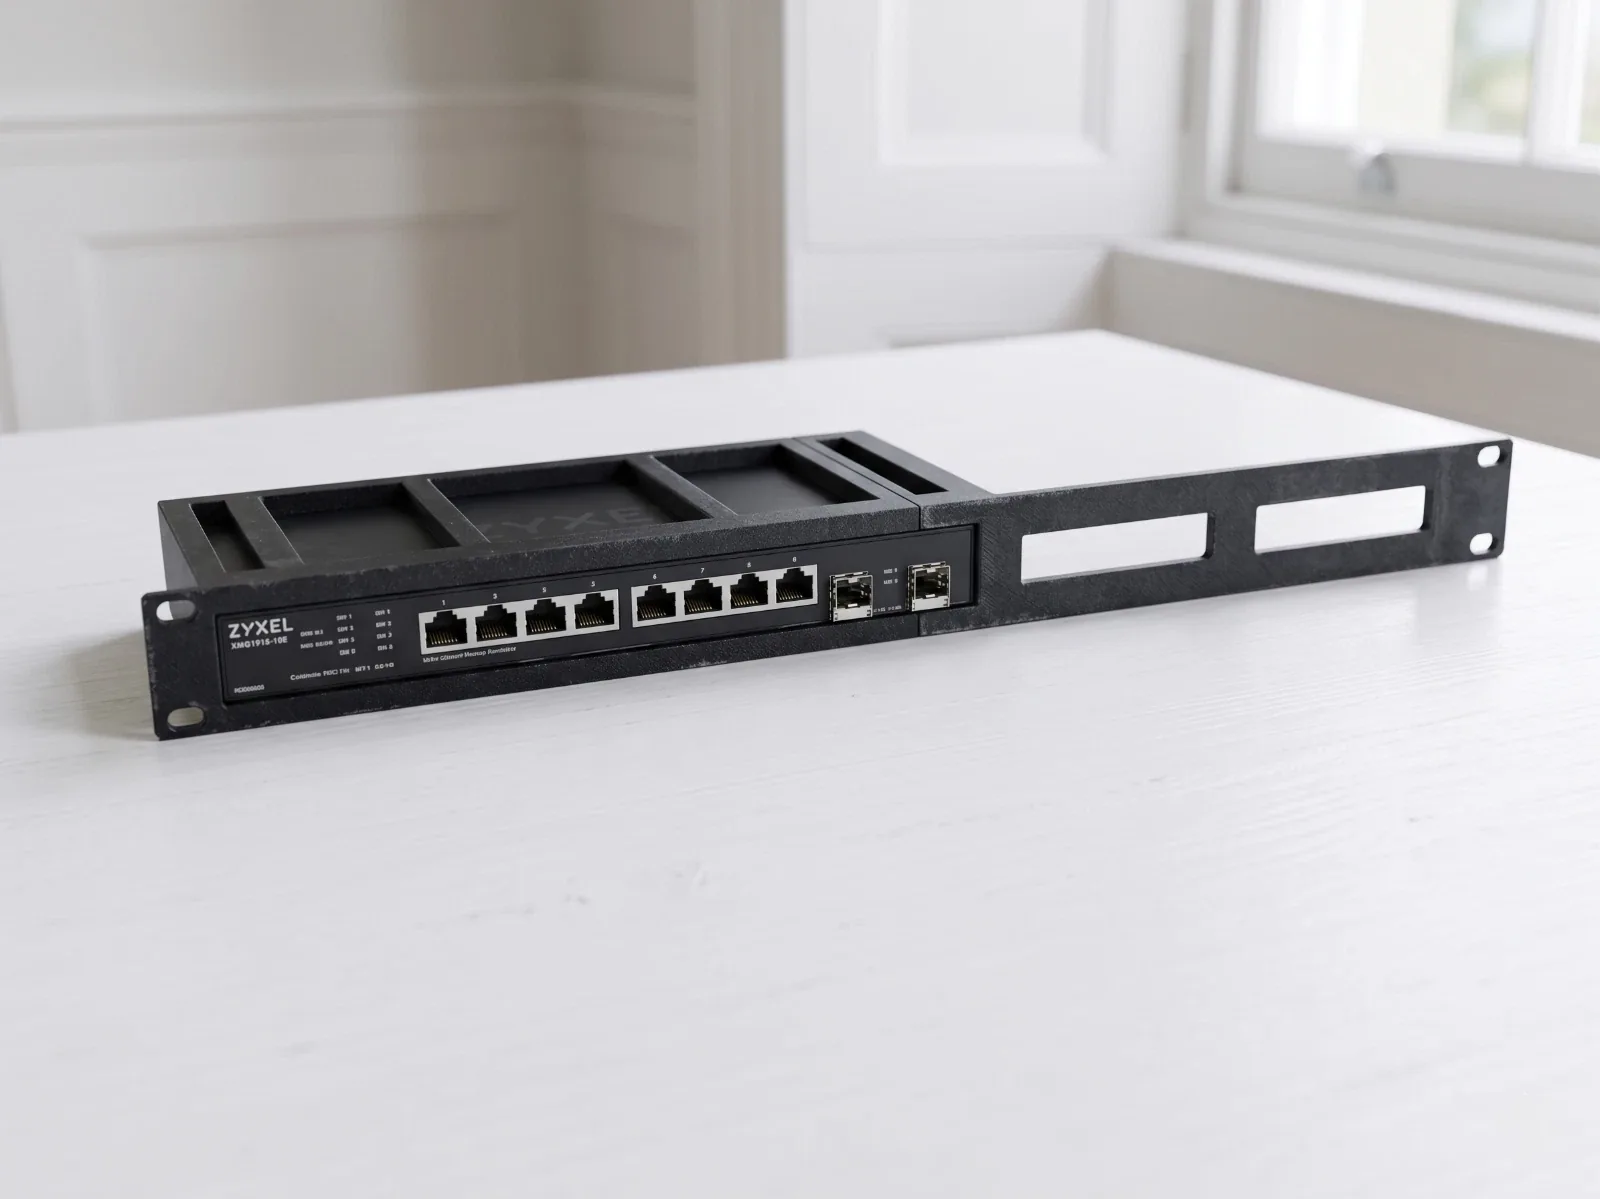
A close-fitting basket with access for cables
The front panel mounts to the rack, while the basket behind it locates the switch. The device slides in from the front and is retained by the close fit, side structure and rear stops.
The front remains open for access to the ports. Small rear retaining edges leave room for connections at the back, and the slots in the wider faceplate provide routes for cables between the front and rear of the rack.
Materials, finish and ordering
The adapter is available in PLA or PETG, printed with a 0.4 mm nozzle, 0.2 mm layers and 100% infill. Printing takes approximately 14 hours, followed by support removal and cleanup.
PLA is the lower-cost option used for the original order. PETG was added as an alternative for customers whose installation requirements favour that material. Tell us about the installation environment when choosing between the two materials.
At the time of writing, the price is £22 in PLA or £28 in PETG, with the same price across the offered colours: black, grey, white, red, blue, green, yellow and orange. Delivery is charged separately according to the selected service. Orders are usually dispatched within 1–2 working days.
From one enquiry to eight orders
By the time of this case study, the adapter had received eight orders. Buyer feedback included positive comments about the item, print quality, communication and speed of service.
The useful change was in the production process: an affordable first order established demand, and a larger printer then made it practical to produce the adapter without an assembly joint.
Need a holder for different network equipment? Send the exact device model, rack size and any clearance requirements. We can assess an existing file or discuss a custom adaptation.
Related: 10-inch rack adapters, PLA, PETG.
Related
FDM 3D Printing
See build size, material choices and common functional use cases.
PETG
Tougher functional material guidance and common use cases.
Projects & examples
Browse more real-world projects across FDM, resin and batch production.
Get a Quote
Send your file or brief for an exact price and lead time.
Ready to print?
Send your file (or your idea) and we’ll reply fast with options and a clear quote.